Skip to contentSkip to sidebarSkip to footer
Why a Clean Interior Matters
A clean interior changes how you feel every time you get behind the wheel. There’s something satisfying about entering a fresh and tidy vehicle, with no crumbs in the seats, no dust on the dash, and no lingering car smell. It sets the tone for every drive.
Beyond the daily comfort, maintaining a clean interior protects your investment. Choosing the right cleaning products and using them regularly prevents wear. Dirt and grime wear down interior materials like upholstery and plastic trim over time. Regular care prevents that buildup and keeps everything looking newer for longer. Think of it as bringing back that new car feel.
What You Need Before You Start
You don’t need every tool listed here to get good results, but the right tools and interior detailing products can make the job faster and more effective.
Essential Tools
Having the right equipment makes all the difference when cleaning the interior of your car. Here’s what you need:
- Shop Vacuum (with Attachments): Essential for removing dirt from carpets, seats, and tight spaces.
- Microfiber Towels: For wiping all surfaces of your car without leaving scratches or lint behind.
- Interior Detailing Brush: A soft-bristle detailing brush for agitating cleaner on textured surfaces and getting into seams.
- Stiff Brush: For scrubbing carpets and floor mats.
Optional Tools
- Air Compressor: Used to blow out dirt from tight spaces before vacuuming.
- Steam Cleaner: Great for a deep clean on cracks and crevices without harsh chemicals.
- Carpet/Upholstery Extractor: Highly effective for removing solutions and water from upholstery and carpets.
- Drill with Brush Attachments: For professional-level agitation when shampooing carpets/seats.
- Leather Brush: For gently scrubbing leather seats without causing damage.
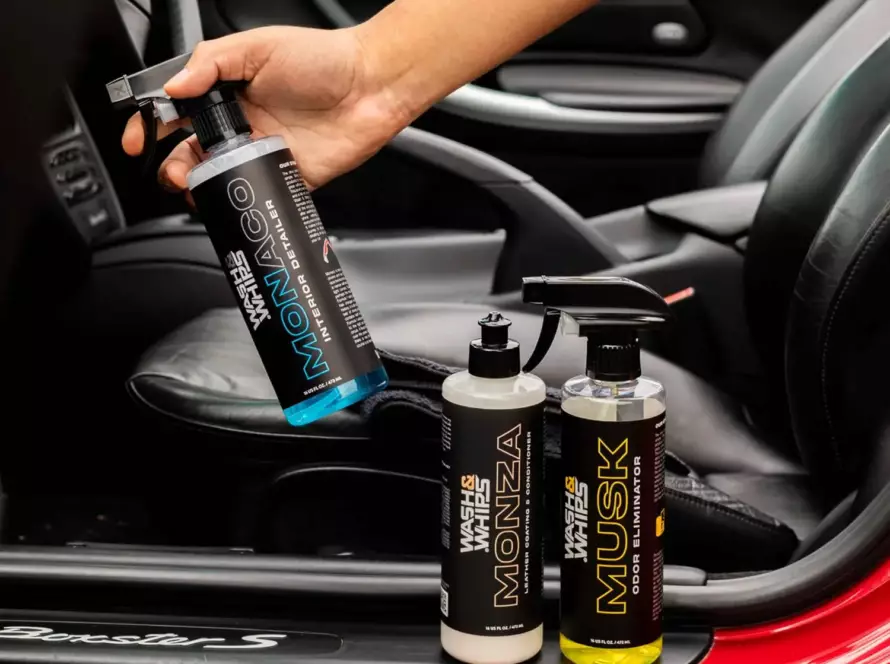
Products You’ll Need
- All-Purpose Cleaner (APC): A versatile cleaner that works on plastics, vinyl, fabric, and most surfaces (must be diluted 10:1).
- Leather Conditioner: To protect and keep leather soft after use.
- Vinyl Dressing: For UV protection and restoring the look of plastic and vinyl surfaces.
- Car Glass Cleaner: Ammonia-free formula for streak-free windows and mirrors.
Step by Step: Learn How to Clean Your Car Like a Pro
Step 1: Empty the Vehicle Completely
Open all doors, then remove all trash from the vehicle, including the trunk, door pockets, cupholder, center console, and glovebox. Check under and between car seats, sliding them forward and back to spot hidden items. Take out all floor rubber and upholstery mats and set them aside.
Step 2: Vacuum Thoroughly
Shake mats outside and set them aside. If you have an air compressor, blow out the vents, cracks between seats, and other tight areas first. This pushes hidden dirt where you can vacuum it up.
Begin vacuuming from the front to the back. Vacuum the seats, seat backs, floors, and seams to remove dust and debris. Switch to the crevice tool for tight spaces like in between cushions, along seat rails, and under pedals. Finish with vacuuming the carpets in overlapping passes and changing directions.

Step 3: Clean the Seats (Fabric, Leather, Vinyl)
Always test any product on a small section first to check how the product performs.
Fabric: Mist all-purpose cleaner over the intended area, agitate with a brush, blot with a clean microfiber towel and wipe away residue, then re-vacuum loosened debris. If you have an extractor, extract any moisture left on any of the fabric.
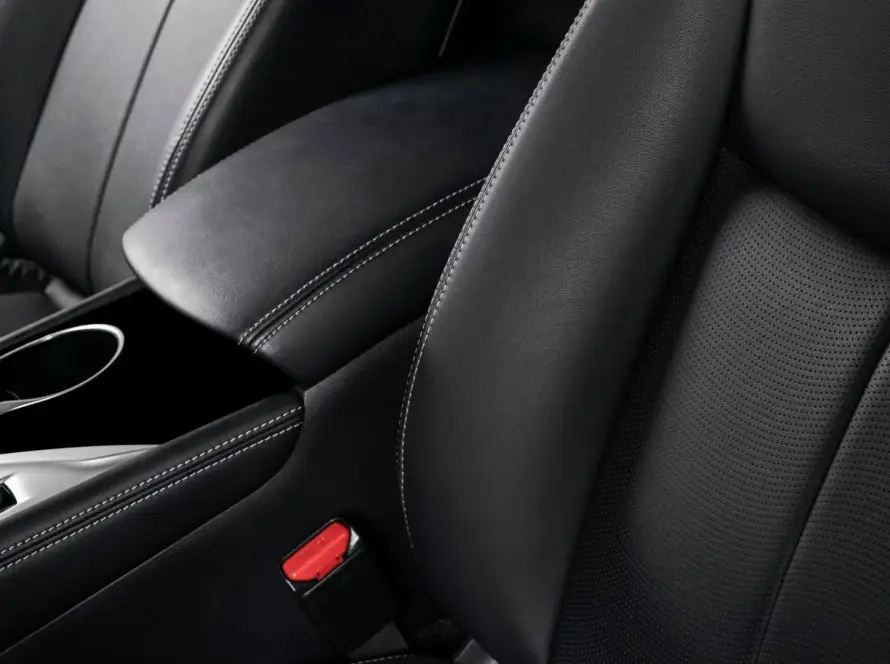
Leather: For leather seats, use a leather cleaner or all-purpose cleaner on the surfaces using a leather brush or soft brush. Wipe away residue with a Microfiber cloth until no product remains.
Vinyl: For vinyl seats, use an all-purpose cleaner on the surfaces using a soft brush. Wipe away residue with a Microfiber cloth until no product remains.
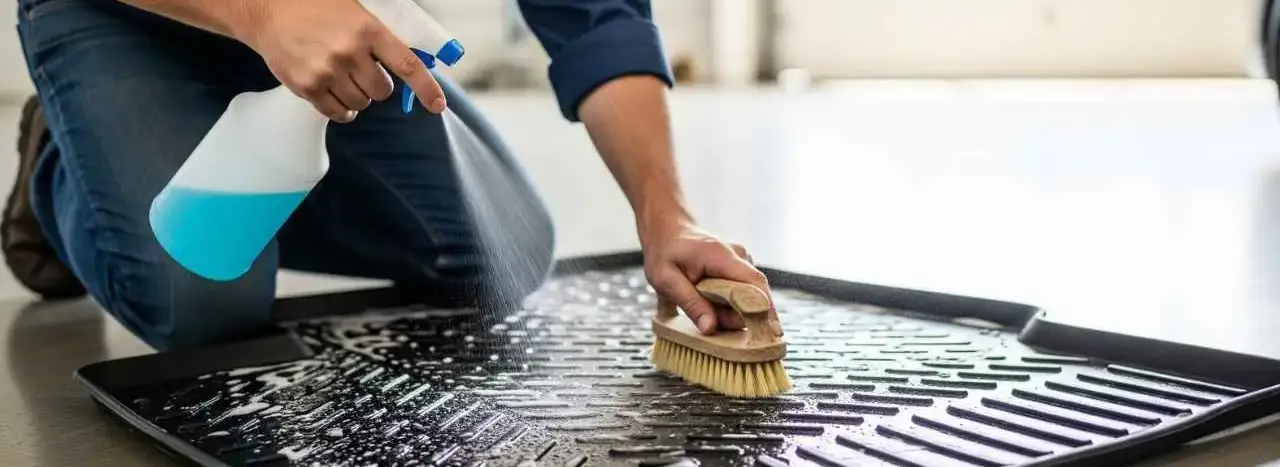
Step 4: Carpets and Floor Mats
Ensure all rubber and upholstery mats are dusted and vacuumed. Once confirmed, rinse the mats with a hose, then apply all-purpose cleaner. Be sure to agitate the mats with a stiff brush, then rinse again. Let them dry completely before putting them back into the vehicle.
For the floor inside the car, vacuum slowly in overlapping passes, then treat stains with a light mist of all-purpose cleaner and agitate with a brush. Blot up the dirty solution instead of rubbing it around. If you’re extracting, don’t soak the carpet. Lightly spray water and do more extraction passes than spray passes so you’re removing moisture instead of pushing it deeper. Be careful around seat areas, seat rails, and wiring areas. Modern cars have sensors and electrical components all around the vehicle, and soaking those spots can turn the detail into a visit to the repair shop.
Winter months also call for road salt getting tracked into your vehicle for months. Make sure to clean carpets and mats thoroughly after each season to prevent salt residue from chewing on the upholstery fibres and leaving that crusty white salt stain on the carpet.
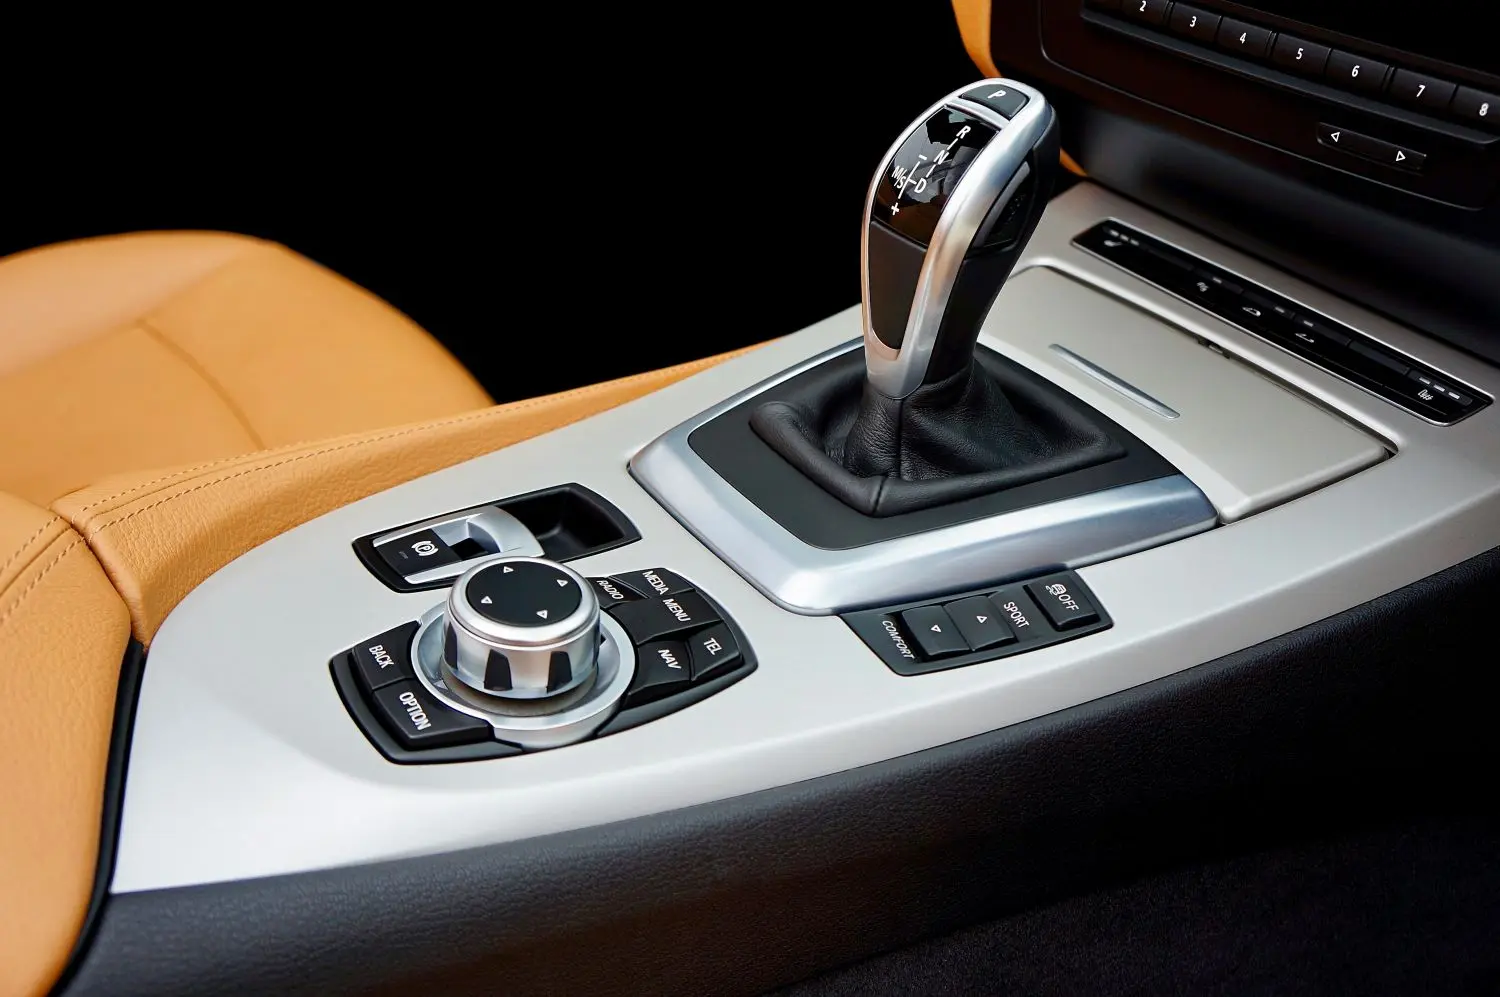
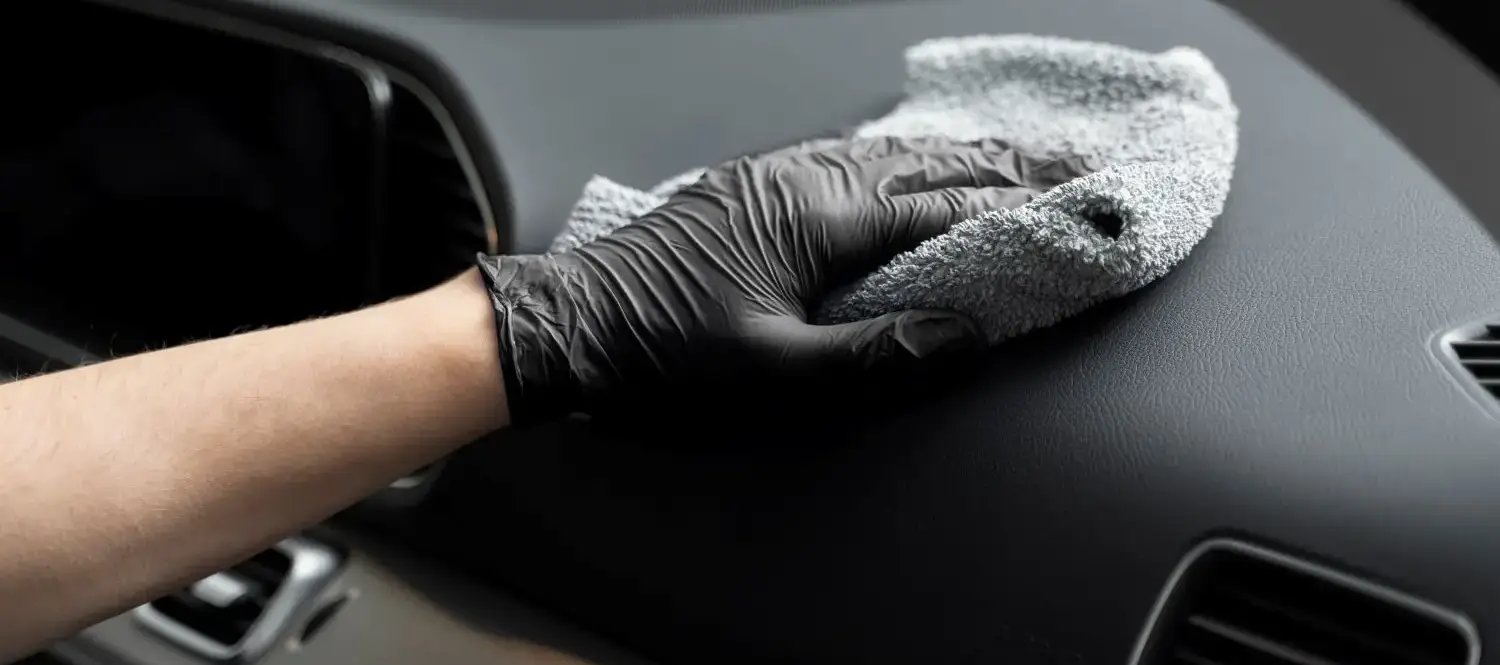
Step 5: Dashboard, Console, Cupholders, and Door Panels
Start by dry-wiping dust with a Microfiber towel from the top interior surfaces down. For textured plastics and seams, spray cleaner onto your brush or towel, not directly onto the area, then work the grime loose and wipe immediately with a fresh towel. This keeps the product out of buttons, speaker grilles, and electronics. As mentioned earlier, avoid spraying products directly near electronics.
Cupholders and sticky console areas usually require more patience and time. Use a brush and all-purpose cleaner to break up the gunk, wipe it out with a slightly damp Microfiber, then follow with a dry towel, so product residue isn’t left behind. For screens and gauge clusters, don’t use chemicals nut rather a barely damp Microfiber with distilled water, then buff dry so you don’t create haze.
Step 6: Windows and Mirrors
Roll the window down slightly, then lightly mist ammonia-free glass cleaner onto a Microfiber towel to avoid overspray on surrounding surfaces. Wipe the glass clean, starting at the top edge of the window. Once done, roll the windows back up and completely wipe the whole window.
On the windshield, wipe up-and-down, then wipe side-to-side. This crisscross pattern makes streaks easy to spot and helps you wipe the glass effectively.
Pro Tip: Use a dedicated automotive glass cleaner. Household products often leave film that catches light and reduces visibility.
Step 7: Headliner and Seatbelts
Headliner: Lightly mist all-purpose cleaner onto a cloth, then dab and wipe in small sections. Avoid soaking the headliner a lot of moisture can loosen the adhesive and cause the headliner to sag.
Seatbelts: Pull each belt out fully and clamp it extended. Spray all-purpose cleaner onto a brush and the seatbelt, and scrub top-to-bottom, then wipe with a damp towel to remove residue and finish with a dry towel. Don’t retract the belt until it’s dry, because trapped moisture can lead to a mildew smell and stiff retraction over time.
Step 8: Complete the Detail
Do a final vacuum throughout the interior to pick up any debris loosened during cleaning. Now that everything is clean, apply protection: leather conditioner on leather seats, vinyl dressing on plastic and vinyl surfaces. Avoid putting dressing on the steering wheel, pedals, or shifter—slick surfaces there can be a safety issue. Add a car air freshener where air flows but doesn’t block vents. Organize personal items and add a small trash container. Once your car is clean, keeping your car clean becomes easier with small daily habits.
Maintaining a Clean Interior Between Sessions
To keep your car interior clean, look out for any trash in your vehicle. Keeping your vehicle tidy is easier when you stay on top of small messes. Every 2 weeks, vacuum your vehicle’s interior. To keep cupholders clean, add any type of liner and when dirty, lift and replace. Wipe high-touch surfaces regularly to ensure everything stays clean after the detail. This reduces buildup and saves time during your next session.
When to Call a Professional
If your car still looks dirty after cleaning, it’s time for professional help. Odors from pets, smoke, spilled food, old stains and more can be extremely difficult to remove if using basic methods. Professionals use higher quality products, such as extractors, steamers, and specialized solutions that can lift grime without damaging materials in the vehicle.
At Grandeur Autos, we handle everything from routine maintenance to full detail transformations. If you’d like a deep clean done on your vehicle, choose Grandeur Autos, the best and top choice for high-quality car care in Calgary.
FAQs
Q: How Long Does It Take To Detail An Interior?
Unless you are an experienced detailer or car enthusiast who is used to maintaining their vehicle, giving your car a deep clean could take anywhere from 2 to 8 hours, based on the type of results you want and the condition of your vehicle. A light touch up takes about an hour if your car is in good condition. For a more thorough detail, it will take 4 to 8 hours. Larger vehicles and heavily soiled cabins take longer.
Q: How Often Should I Detail My Vehicle’s Interior?
A full interior detail should be done every 2 to 4 months. If you have kids, pets, carpool often, or live in a city that gets heavy winter months, you’ll want to do this frequently to ensure there will be no dirt buildup and to remove salt and debris that accumulated over the season.
Q: What Products Work Best for Interior Car Cleaning?
An all-purpose cleaner diluted 10:1 works well and can be the one product used to clean plastics, vinyl, and fabric. You can use this cleaner to clean most surfaces in your vehicle. Using the right products won’t damage your vehicle like household options will.
Q: Does Steam Damage Vehicle Components?
Steam will not damage your vehicle’s components when used correctly. Keep the steamer nozzle moving and avoid sensitive materials like touchscreens and switches. Use brief passes on plastics.
Q: Can You Use Household Cleaners Inside Your Car?
No, it is not recommended to use household chemicals or products to clean the inside of your car, as most contain ammonia, bleach, or strong solvents that can discolour or dry out automotive surfaces, leading to fading, cracking, and sticky finishes. Always choose products specifically for automotive/detailing use.
Q: How Do I Handle Salt and Grime After Winter?
Winters leave behind salt and moisture that damage materials if ignored. Remove mats and vacuum all loose debris first. Use hot water and a salt remover to break down salt residue. Wipe up any remaining moisture with a clean microfiber cloth and let everything dry completely before putting mats back.
Q: What Should I Use to Clean Glass Inside My Car?
Any automotive glass cleaner will work—just make sure it’s ammonia-free so it won’t damage tint or leave residue. Spray it onto your towel instead of the glass to control overspray, then wipe in straight lines. If you see streaks, flip to a dry side of the towel and buff them out.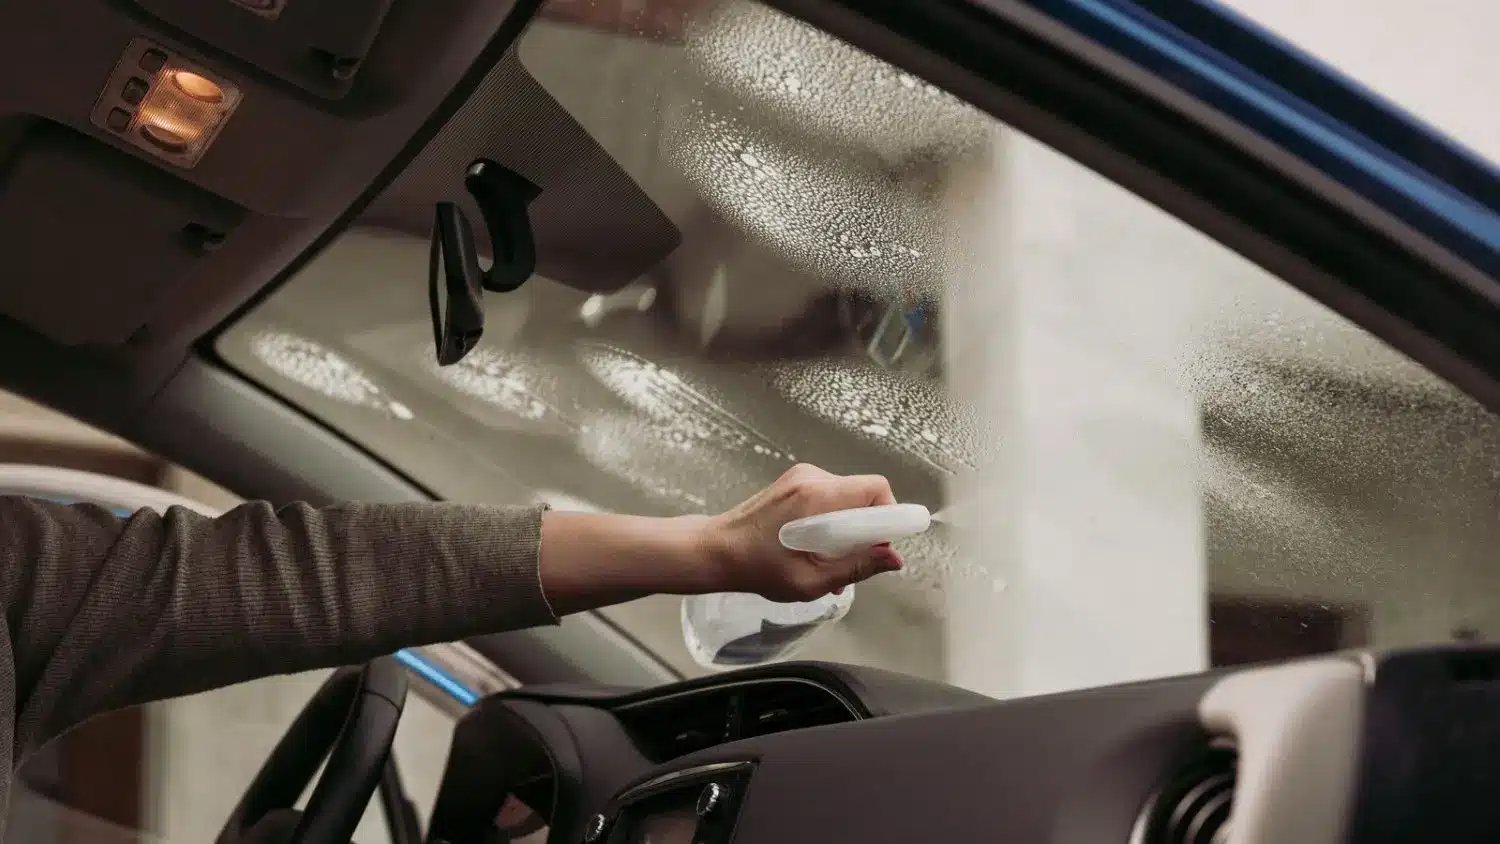
Q: How Do I Clean Leather Without Damaging It?
For leather, use a leather cleaner or all-purpose cleaner diluted 10:1 along with a soft brush. Agitate the leather and wipe away residue completely, then apply leather conditioner to protect and keep the leather from cracking over time.
Q: What’s the Difference Between a Car Wash and Detailing?
A car wash focuses on the exterior, wheels, and glass. Detailing is a much more thorough service that involves transforming your vehicle to a like-new condition. Services like interior, exterior, and engine detailing, headlight restoration, and more advanced services like paint correction, ceramic coating, window tinting, ppf, and more
Final Thoughts
You now know how to clean the inside of your car effectively. Whether you want to learn how to detail a car yourself or just keep up with basic maintenance, these steps will help keep things looking and feeling clean.
Whether you maintain your vehicle by yourself or leave it to professionals, consistent care makes a noticeable difference every time you drive. If you’d rather leave it to professionals who do this daily, Grandeur Autos offers car detailing services in Calgary. We’ll handle everything from engine detailing to complete details and anything your vehicle needs to look and feel its best.