Over time, your car’s headlights can become foggy and yellowed, reducing their effectiveness and the overall appearance of your vehicle. This deterioration is not appealing and is a safety hazard, as it reduces your ability to see the road clearly at night and in bad weather conditions. While there are multiple temporary methods and DIY kits that promise to fix your headlights, these often fail to provide lasting results and can sometimes make the oxidation worse. Knowing the causes of headlight deterioration, having the right tools, materials, and following a step-by-step guide are essential to restoring your headlights. Here’s how you can restore your car headlights permanently and maintain them.
Understanding Headlight Deterioration
Causes of Headlight Oxidation
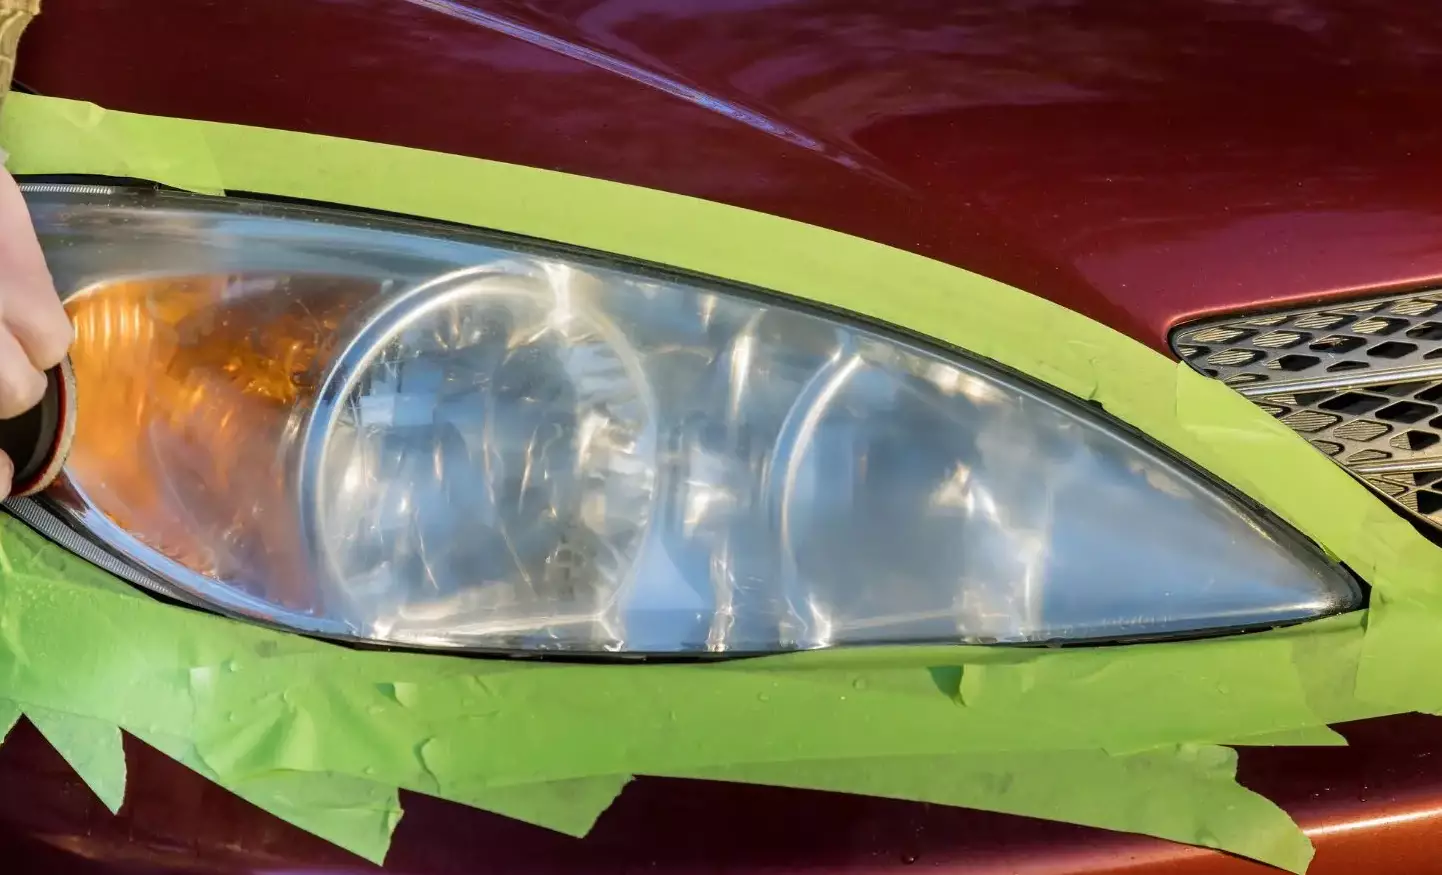
Headlight oxidation/fogging is primarily caused by the breakdown of the protective coating on the lens due to UV rays. Over time, UV exposure degrades the coating, leading to hazing, yellowing, and reduced light output when turned on.
Environmental factors, such as regular exposure to road debris, and harsh weather conditions, increase the deterioration. These elements work in tandem with UV rays, compounding the damage.
Risks of Driving with foggy Headlights
When your headlights are clouded/foggy, they block up to 90% of the light output, which means you can’t see obstacles, pedestrians, or other vehicles clearly. This endangers you and everyone else on the road.
Hazy headlights can make your front end look ugly and can affect its resale value. By fixing your headlights, you improve your safety and maintain your vehicle’s appearance and value.
Tools and Materials Needed for Headlight Restoration
Essential Tools
Restoring your headlights requires specific tools to achieve the best results. Here’s a list of essential tools you’ll need:
- Wet Sanding Paper: Wet Sanding paper with different grits, such as 600, 800, 1000, 1200, 1500, 2000, 2500 and 3000, to gradually remove oxidation and smooth the lens surface.
- Polishing Pads: To buff and finish the headlights after sanding, ensuring a clear, smooth finish.
- Microfiber Cloths: For wiping away dust, polishes, and wet sand residue.
- Masking Tape: To protect the areas around your headlights from accidental sanding or polishing.
- Spray Bottle with Water: For wet sanding, which helps to keep the sanding pads clean and headlights lubricated, during the sanding process.
- Drill with Interface Pad (Optional): A drill with an interface pad can be used to attach sanding paper, making the sanding process faster and more efficient.
- 3-Inch DA Polisher: A dual-action polisher is ideal for evenly polishing the headlight surface and achieving a professional finish.
Recommended Products
- Correcting Compound: Jescar’s Correcting Compound is recommended for removing fine scratches and restoring the headlights lens.
- Finishing Polish: Tac System Refinish R3 is recommended for the final polish to achieve the best clarity and shine.
- UV Sealant: Any sealant or ceramic coating of your choice to protect the headlights from future UV damage.
- Protective Gloves and Goggles: Safety gear to protect your hands and eyes from chemicals and debris during the restoration process.
Step-by-Step Guide to Restoring Headlights
Preparation to Restoring Headlights
Begin by gathering all the essential tools and recommended products needed for the restoration process. Protect the surrounding areas of the headlights by using masking tape to mask off areas around the headlights to prevent accidental damage on the during the restoration process. Set up your work space in a shaded area to prevent the cleaning and sanding compounds from drying too quickly.

Cleaning the Headlights
Start by thoroughly cleaning the headlights with a soap, water, clay bar, and a microfiber towel to remove any surface dirt and grime. Inspect the headlights for any cracks or severe damage that might require professional attention.
Sanding Process
Start with 600 grit and progressing to 3000 grit. Depending on the severity of the headlight oxidation, use the appropriate starting grit:
- Heavy Oxidation: Start with 600-grit sandpaper or lower if needed.
- Medium or light Oxidation: Start with 800-grit sandpaper.
Follow these steps for each sanding paper grit:
- Initial Sanding: Start by wet sanding vertically with the chosen grit (600 or 800). Make sure the surface is wet for lubrication and a smoother sanding process.
- Second Sanding: Move up to 1000 grit sandpaper and sand horizontally to remove previous scratch marks from the first sanding step.
- Third Sanding: Go up to 1200 grit sandpaper and sand vertically to remove scratch marks from the second step.
- Fourth Sanding: Use 1500 grit sandpaper and sand horizontally to remove scratch marks from the third step.
- Fifth Sanding: Use 2000 grit sandpaper and sand vertically to remove scratch marks from the fourth step.
- Sixth Sanding: Use 2500 grit sandpaper and sand horizontally to remove scratch marks from the fifth step.
- Final Sanding: Finish with 3000 grit sandpaper, sanding vertically to remove scratch marks from the sixth step.

Polishing the Headlights
After sanding, you’ll need to polish the headlights with a quality polishing compound to bring back their clarity and shine.
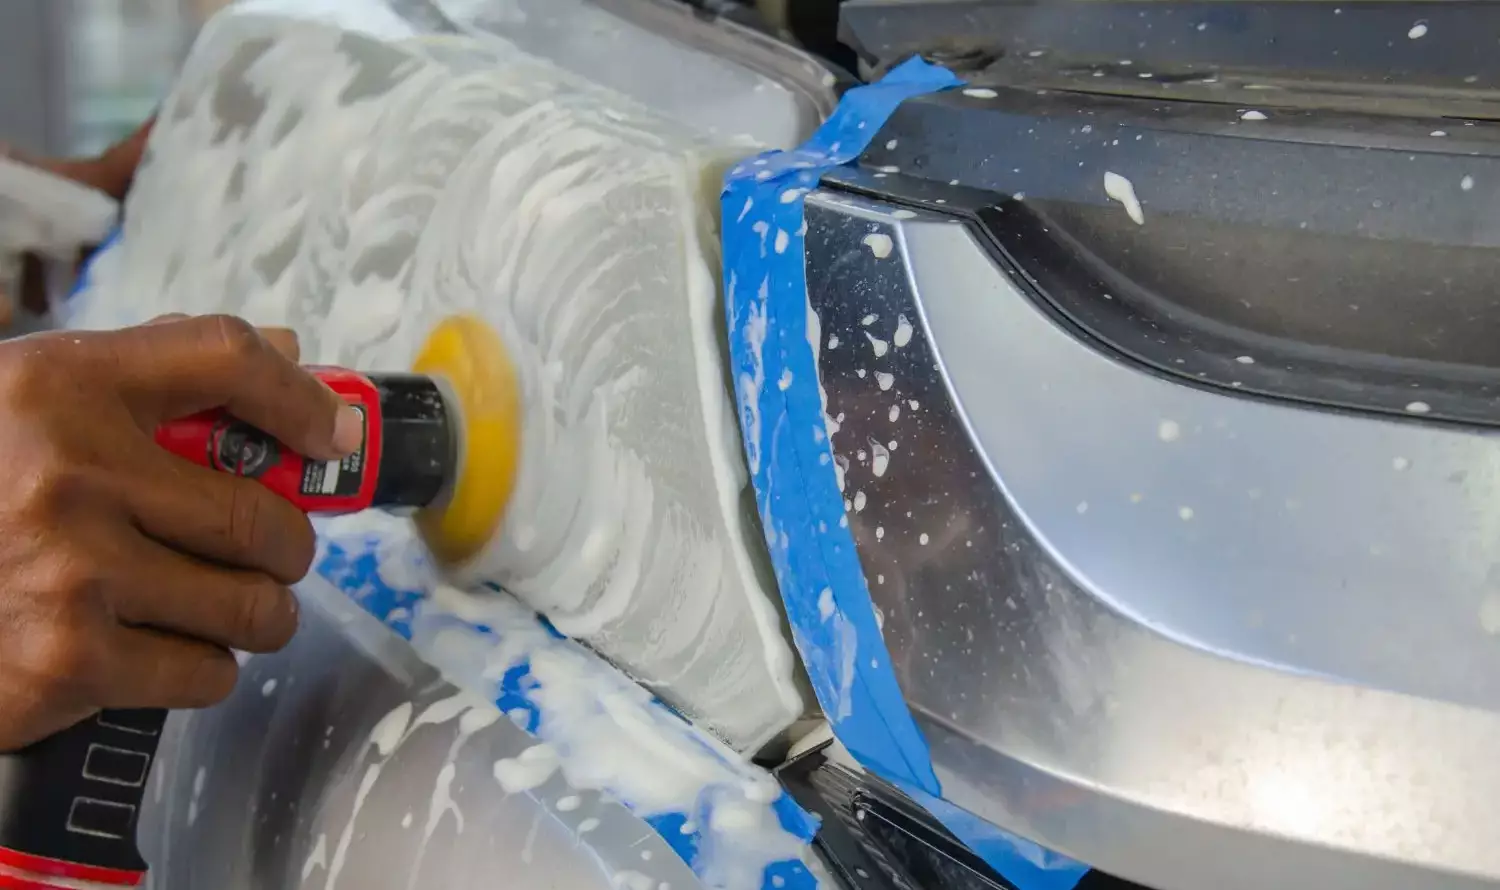
- Apply Correcting Compound: Apply a 3-4 drops of Jescar’s Correcting Compound to a cutting pad attached to a 3-inch DA polisher.
- Polish the Surface: Using the DA polisher, work the compound across the headlight surface in a back-and-forth motion. This will remove fine scratches form the 3000 grit sand paper and smooth out any imperfections.
- Inspect and Reapply: Inspect the headlight and reapply the compound if needed to achieve the desired clarity.
- Switch to Finishing Pad: Change to the finishing pad and apply Tac System Refinish 3 for a clear finish on the headlights.
- Final Polish: Polish until the headlights are clear and smooth, apply moderate pressure and keeping the polisher moving to avoid creating hot spots.
Applying a Protective Coating
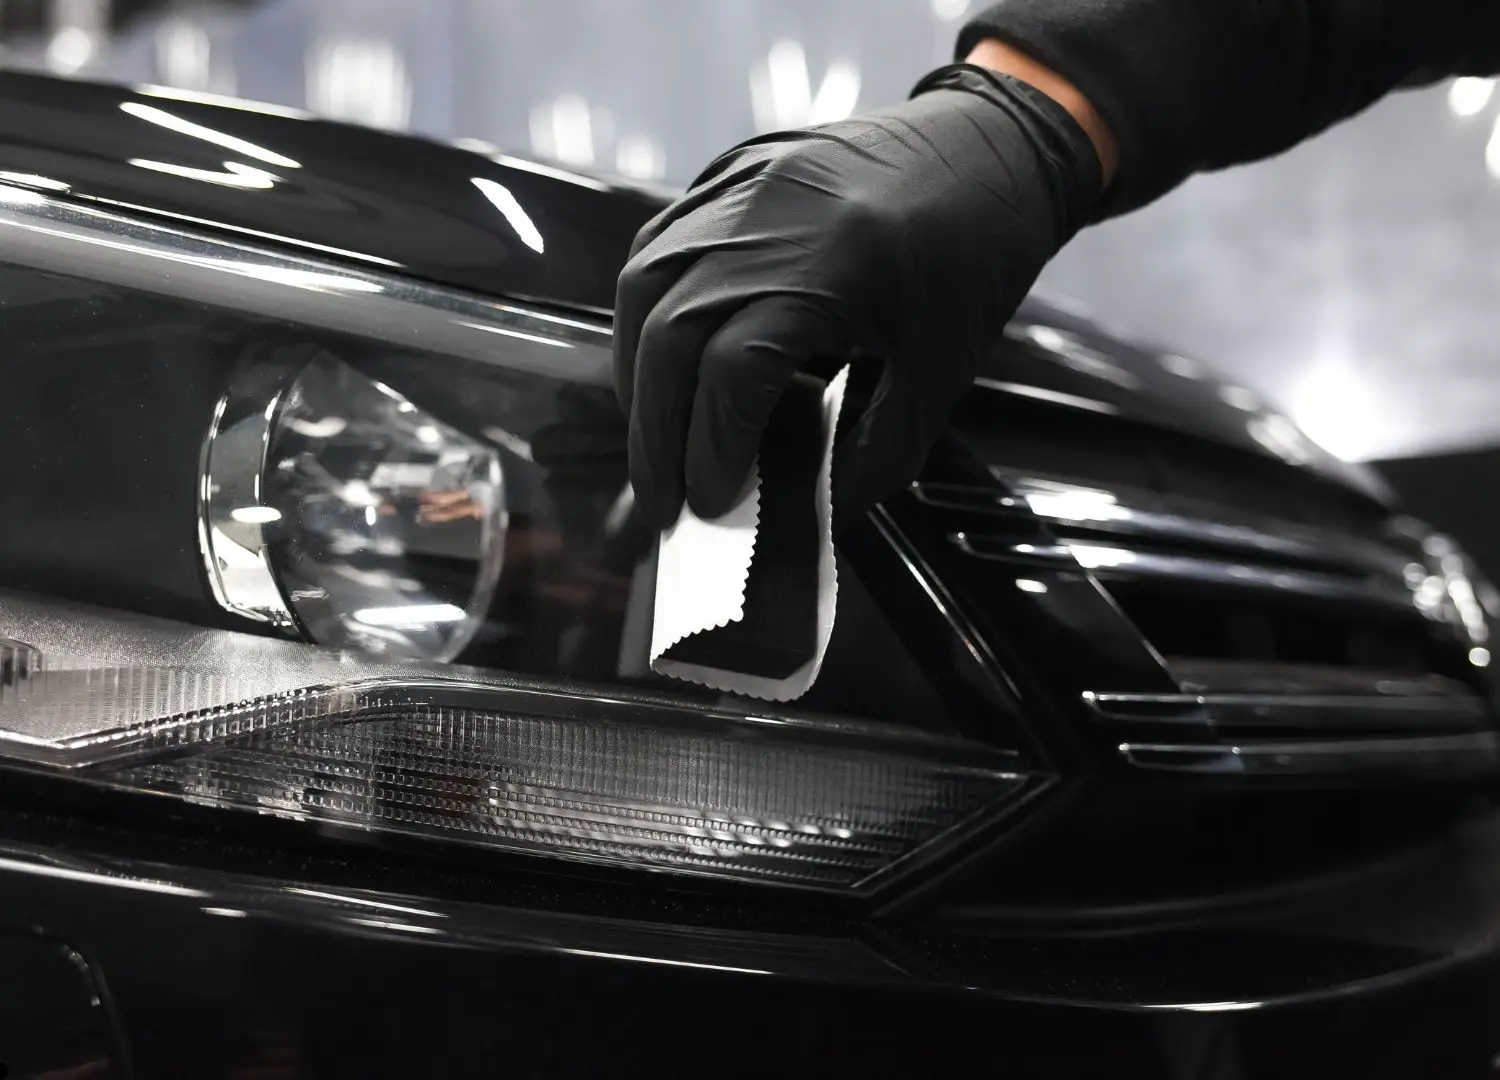
Once the headlights are polished, it’s time to apply a protective coating to ensure they stay that way. First, wipe down the headlights with a microfiber towel to remove any residue left from the polishing process. Choose a high-quality product known for its durability, such as a UV sealant or ceramic coating of your choice.
Apply the sealant or ceramic coating evenly across the headlight surface using a microfiber towel or a applicator pad. The protective coating adds UV protection and prevent future yellowing and oxidation.
The Downside of Temporary Headlight Restoration Methods
Common Temporary Methods
Temporary headlight restoration methods like household items, toothpaste or baking soda are convenient because they are easily accessible, but they don’t provide a lasting fix. These quick fixes are popular DIY methods you can find online and can be done quickly. However, these temporary methods only give short term results, and don’t address the headlight yellowing/fogging.
These DIY methods lack the necessary UV protection to shield your headlights from harmful rays and environmental factors. This means that any clarity you gain is likely to be temporary. Without the right protection, your headlights will quickly revert to its previous, cloudy state.
Short Term vs. Long-Term Results
DIY kits or home remedies often fail to deliver long-term results for headlight restoration. These methods only remove surface oxidation temporarily.
Over time, the yellowing and reduced visibility return, leaving you right back where you started. For lasting results, Professional headlight restoration services or using the correct restoration process will bring back your headlights to a like new conditions and protect them.
Risks of Using DIY Kits and Temporary Solutions
Using DIY kits and temporary solutions can pose several risks to your headlights:
- Ineffectiveness: Temporary methods will not fully remove oxidation or address underlying issues, leading to recurring problems.
- Time and Effort: Repeated applications of temporary fixes can be time consuming and labor intensive without providing a lasting solution.
Why Professional Restoration is the Best Option
Professional headlight restoration service offers several advantages over temporary methods:
- Thorough Cleaning: Professionals use the right tools and products to remove deep oxidation and restore the lens to a like new condition.
- Long-Lasting Results: High-quality restorations involve multiple steps, including sanding, polishing, and applying the right protection to protect the headlights .
- Expertise and Precision: Trained technicians can assess the extent of damage and tailor their approach to achieve the best results without risking further damage to the headlights.

Common Mistakes to Avoid When Restoring Headlights
Skipping Steps
One of the most common mistakes in the headlight restoration process is skipping important steps or not taking enough time on certain steps. Whether it’s not thoroughly cleaning the headlights before starting, or failing to properly sand and polish, each step is crucial to getting the best results. Skipping steps can lead to an uneven restoration, or parts of the headlight staying hazy or scratched. Ensure each step is followed thoroughly achieve the best results.
Using Incorrect Products
Using the wrong products can damage your headlights and lead to unsatisfactory results. Avoid using household items, which are often recommended for quick fixes. Instead, use products meant for headlight restoration, such as appropriate sandpapers, cutting compounds, and sealants.
Inadequate Protection
Not applying a protective sealant or coating after restoring your headlights can result in them becoming foggy and yellowed again. Always finish the restoration process with a high-quality UV-resistant sealant or ceramic coating to protect your headlights and maintain their clarity for a longer time.
By avoiding these common mistakes, you can ensure a successful headlight restoration that enhances the appearance and functionality of your vehicle’s headlights.
FAQs on Headlight Restoration
How long does the restoration last?
How long the headlight restoration last depends on the method and products used. Professional restorations typically last longer, normally up to a year or more, especially when a high-quality UV protectant is applied. DIY methods will give temporary results and wont last as long.
Can I use household items for restoration?
While household items are popular DIY options to fix headlight fogging, they are generally not recommended for long-term results.
Is professional Headlight restoration Service better than DIY?
Yes, professional headlight restoration services are better than doing it yourself. Professionals use the right tools and high-quality products that provide durable and long lasting results. They also have the expertise to ensure the restoration is done correctly, reducing the risk of damage to the headlights.
Can headlight restoration improve nighttime visibility?
Yes, headlight restoration can improves nighttime visibility. Foggy and yellowed headlights can reduce the amount of light emitted, making it harder to see at night or in poor weather conditions. Restoring your headlights enhances their brightness and clarity, allowing for a safer driving.
Conclusion
Restoring your car’s headlights is important to maintaining both the safety and appearance of your vehicle. A thorough process involving cleaning, sanding, polishing, and applying protection ensures your headlights are clear of haze, and look new.
If you’re looking for professional headlight restoration services in Calgary, Grandeur Autos provides expert care to get the job done right. Our professional detailers use the highest quality products and techniques to ensure long-lasting results. Whether your headlights are hazy, yellowed, or scratched, we can restore them to like-new condition, improving both the look and safety of your vehicle.
Contact Grandeur Autos today to schedule your headlight restoration service and experience the difference our expertise can make. Trust us to keep your headlights and your car looking their best.

