 Skip to contentSkip to sidebarSkip to footer

To restore headlights, you start by sanding off the oxidized layer and refining the scratches with finer grits. Then the lens is made clear again by polishing it, spraying it with a 2K clear coat or smoothing it with vapor. UV protection is applied at the end, with a headlight ceramic coating or the 2K clear coat itself, to keep oxidation from coming back.
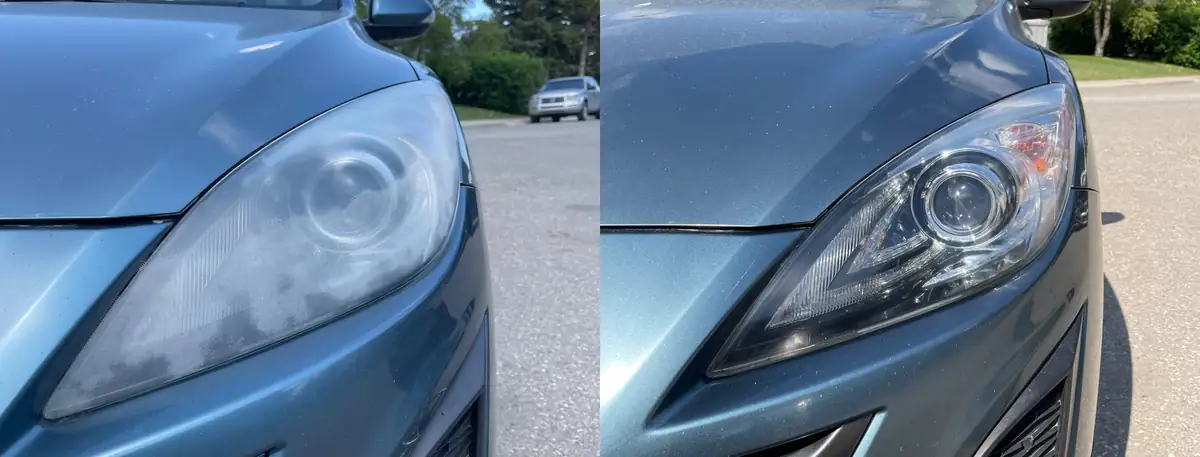
Why Headlights Turn Yellow and Foggy
Headlights are polycarbonate plastic, with a thin UV coat applied at the factory to protect them. Over time, the sun, harsh cleaners and the weather break down that coat, and the headlight lens turns cloudy and yellow, or sometimes white. Once a headlight gets to that point, it loses up to 80% of the light it gave off when it was new. That reduces your visibility, which is a safety concern, especially when you’re driving at night.
Check Your Headlights First
Where the Cloudiness Is
A headlight restoration only fixes the outside of the lens, so before starting, check where the cloudiness is.
- Feel the lens: Feel the outside of the lens. If it’s rough or gritty, the damage is on the outside and can be sanded off.
- Wet the lens: If you can’t tell by feel, spray it with water. Cloudiness on the outside looks better while the lens is wet. If it stays cloudy and feels smooth, the fog is building up inside the headlight.
- Look for cracks: A cracked lens lets moisture get into the headlight.
- Check for moisture inside: Look through the lens into the headlight housing. Water pooling at the bottom means water has gotten in, through a crack or a failed seal.
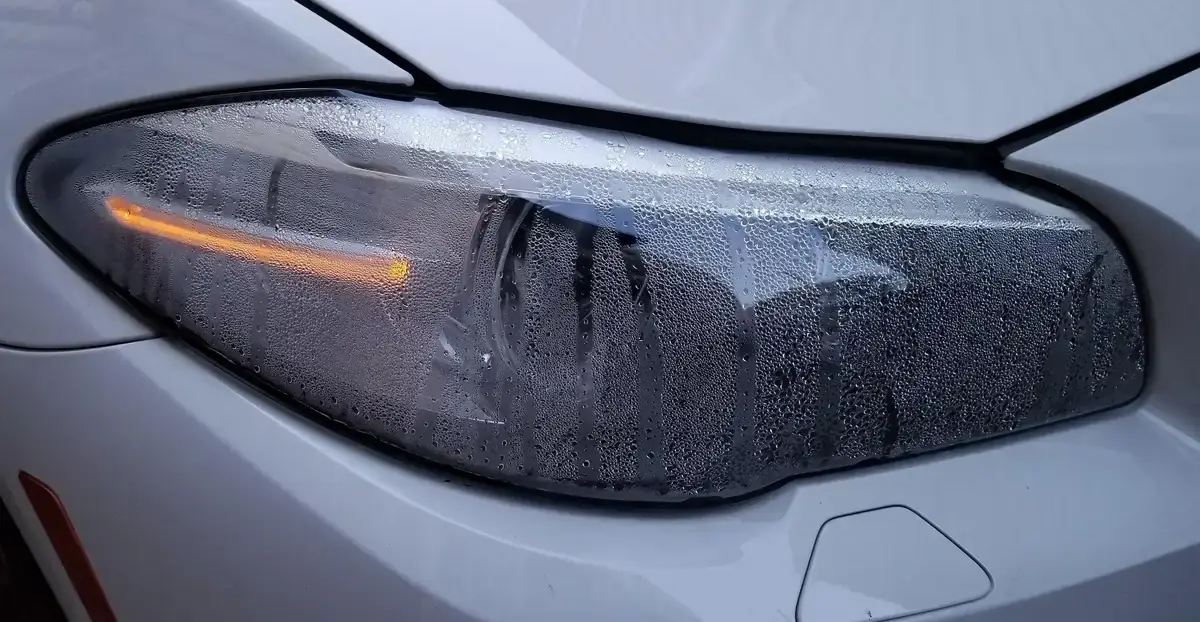
If the lens is cracked or the cloudiness is inside the headlight, there’s no point in restoring it. The headlight needs to be replaced.
How Bad the Damage Is
How bad the damage is decides which steps you’ll need.
- Heavy damage: The lens is cloudy, blurry and foggy, and light is barely shining through.
- Light haze: The lens isn’t completely cloudy, and you can still see the light coming through. The haze can also be in patches or in small sections.
Heavier damage needs rougher grits and more steps to completely sand out the oxidation. Light haze comes off with just a cutting compound and a finishing polish.
Tools You Need to Restore Headlights
- Gloves: To protect your hands from the sanding slurry (the milky mix of water and sanded-off plastic), the compound and the coating.
- Spray bottle: Filled with soapy water to keep the lens and sandpaper wet.
- Microfiber towels: Wipe off the water, the sanding slurry, and the compound and polish between steps.
- Painter’s tape: Masks off the paint and trim around the headlights.
- Wet sandpaper: 800, 1000, 1500, 2000, 2500 and 3000 grit, to take off the oxidized layer and smooth the lens. The lower the grit, the rougher the sandpaper, and the higher the grit, the finer.
- Sanding block: Holds the sandpaper flat when sanding by hand.
- Dual-action polisher or drill: Polishes the lens, and can sand it too with sanding discs from 1000 grit and up. The lens has to be sanded by hand with 800 grit first.
- Polishing pads: A cutting pad for the compound and a finishing pad for the polish.
- Cutting compound: Removes the scratches left by the finest sandpaper.
- Finishing polish: Brings the lens back to full clarity after the compound.
- Panel wipe: Cleans the polish off the lens so the coating can bond to the headlights.
- Headlight ceramic coating: Adds UV protection to the lens.
How to Restore Headlights Step by Step
If there’s heavy damage, follow each step thoroughly. For light haze, clean and tape the headlights, skip the sanding and go straight to compounding the lens. Every step after that stays the same.
- Inspect the headlights: Check whether the headlights can be restored, and how bad the damage is.
- Clean the headlights: Spray them with soapy water, then wipe and dry them with a microfiber towel, so no dirt or debris gets dragged around under the sandpaper.
- Tape off the paint: Tape off the paint and trim around the headlights, so the sandpaper can’t scratch the paint or trim.
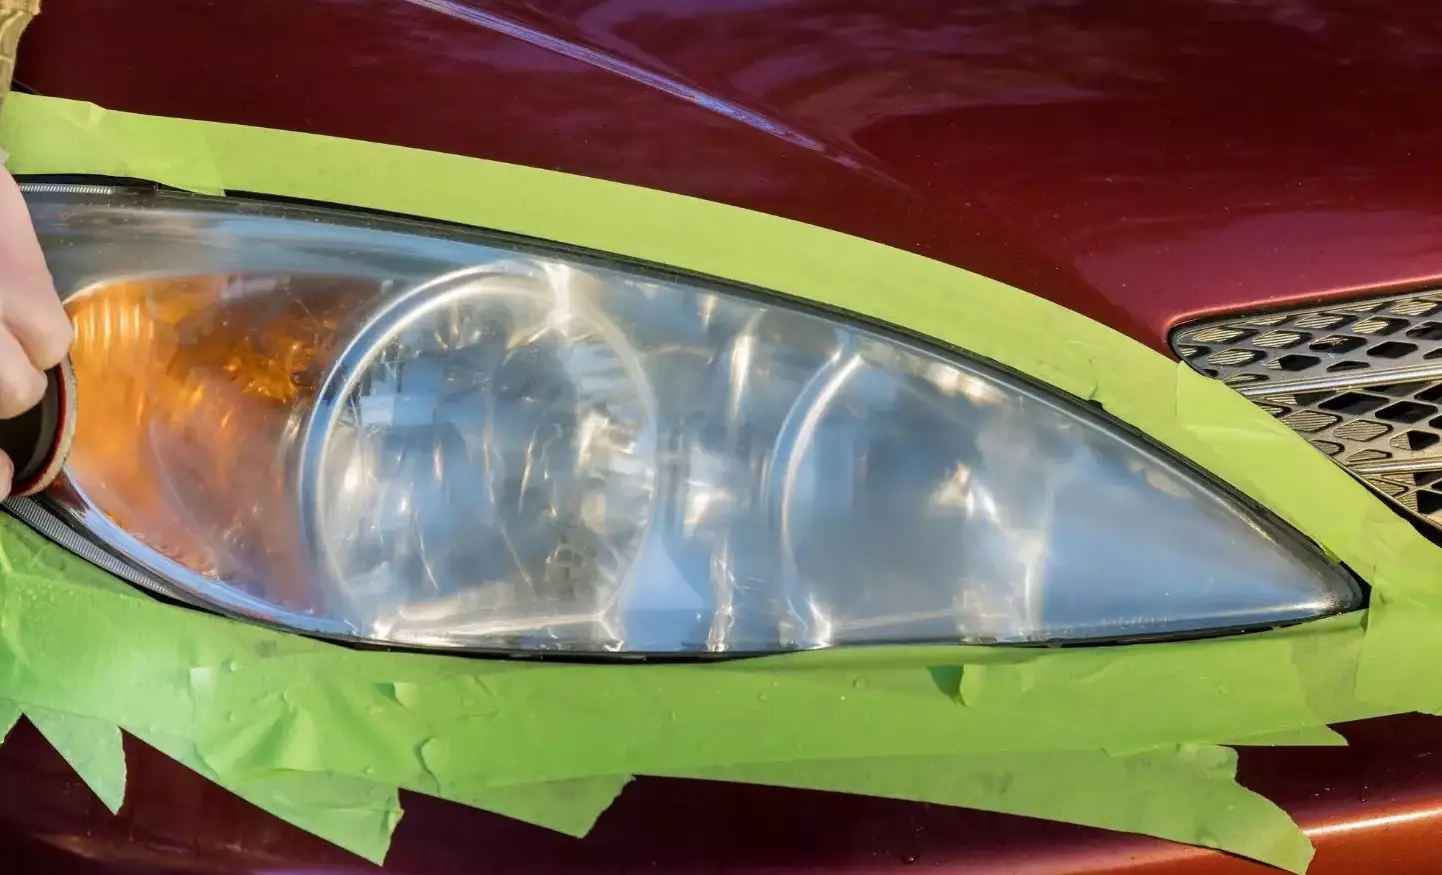
- Wet sand with 800 grit: Spray the lens with soapy water and keep it wet while you sand. Sand it with 800 grit sandpaper on the sanding block, going side to side and then up and down over the whole lens. Keep sanding until the headlights are evenly wet sanded and fully cloudy, then wipe off the slurry with a microfiber towel.
- Move up through the grits: Repeat the same steps with 1000 grit, then 1500, 2000 and 2500, and finish with 3000. Move up a grit only once the lens feels smooth and even, and the scratches from the grit before are sanded out.
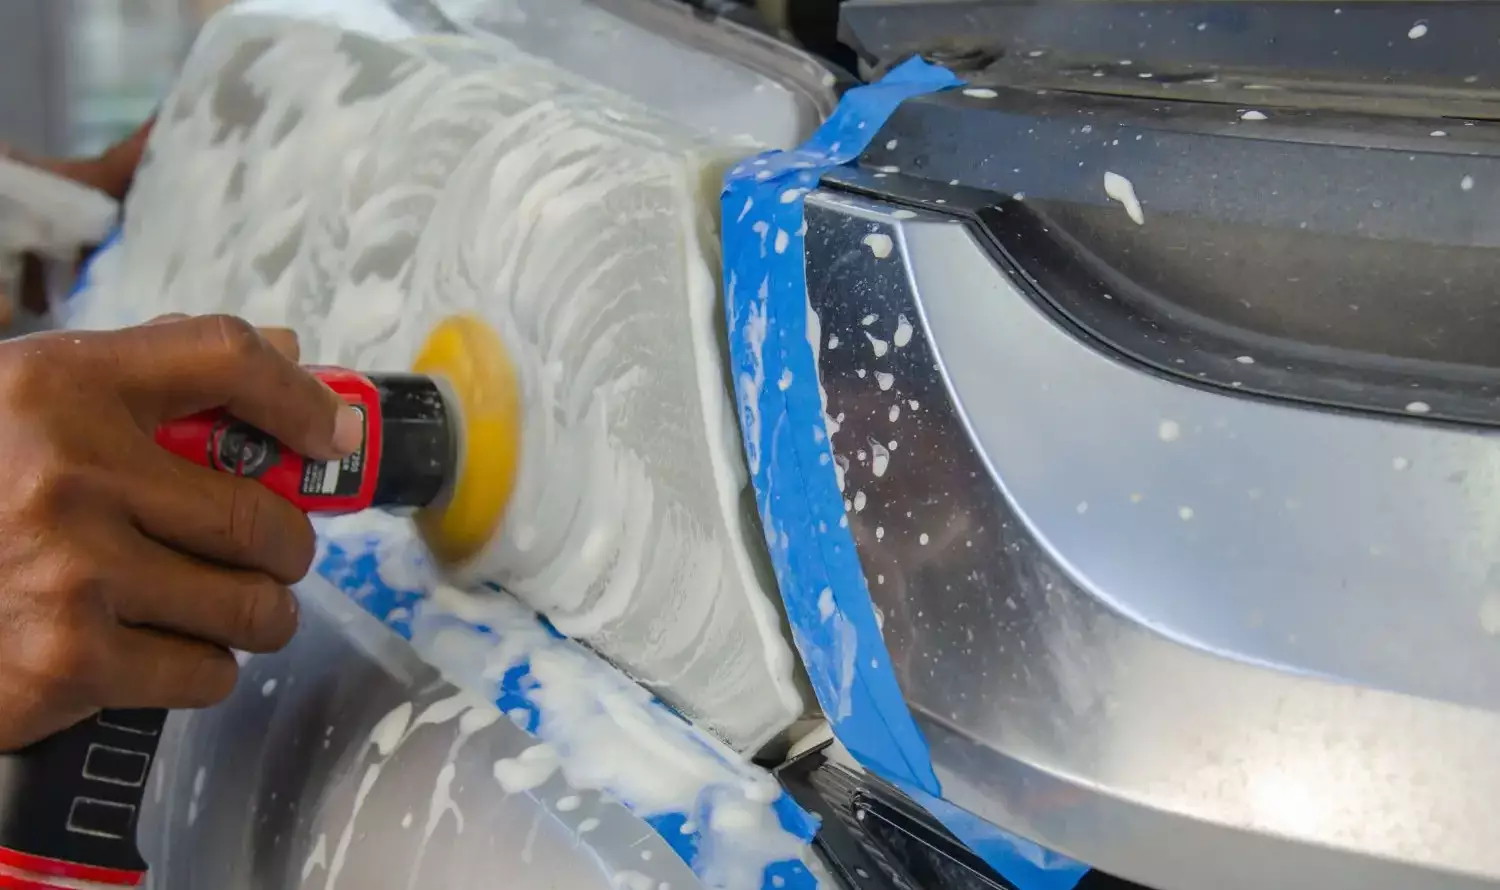
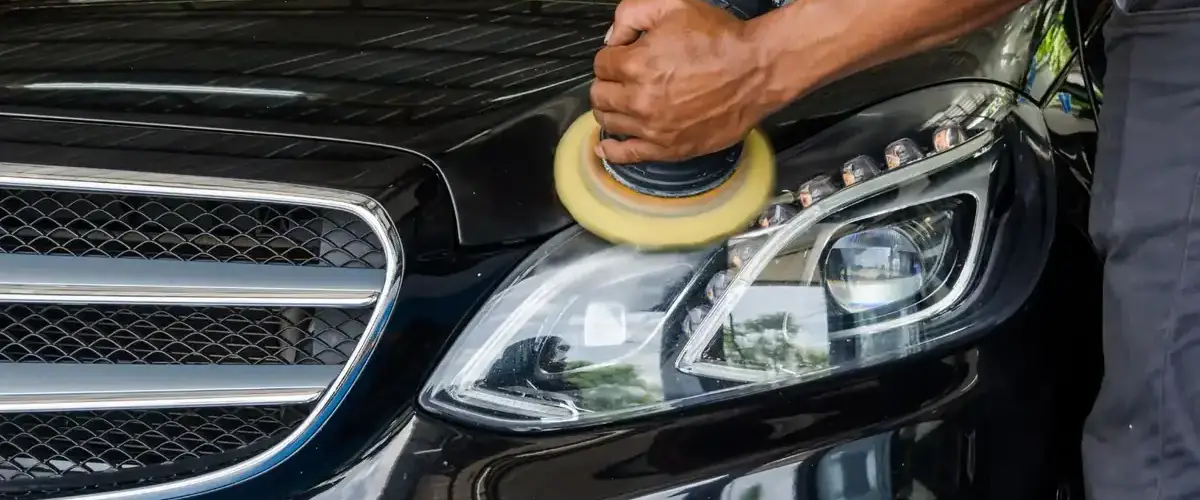
- Compound the lens: Clear out the sanding marks and scratches with the polisher, a cutting pad and the cutting compound, keeping the polisher moving at a low to medium speed, until the sanding marks are gone. Then wipe off the compound with a microfiber towel.
- Polish the lens: Switch to the finishing pad and polish it with the finishing polish until it’s fully clear.
- Prep the lens: Peel off the tape, then clean the lens with panel wipe and a microfiber towel.
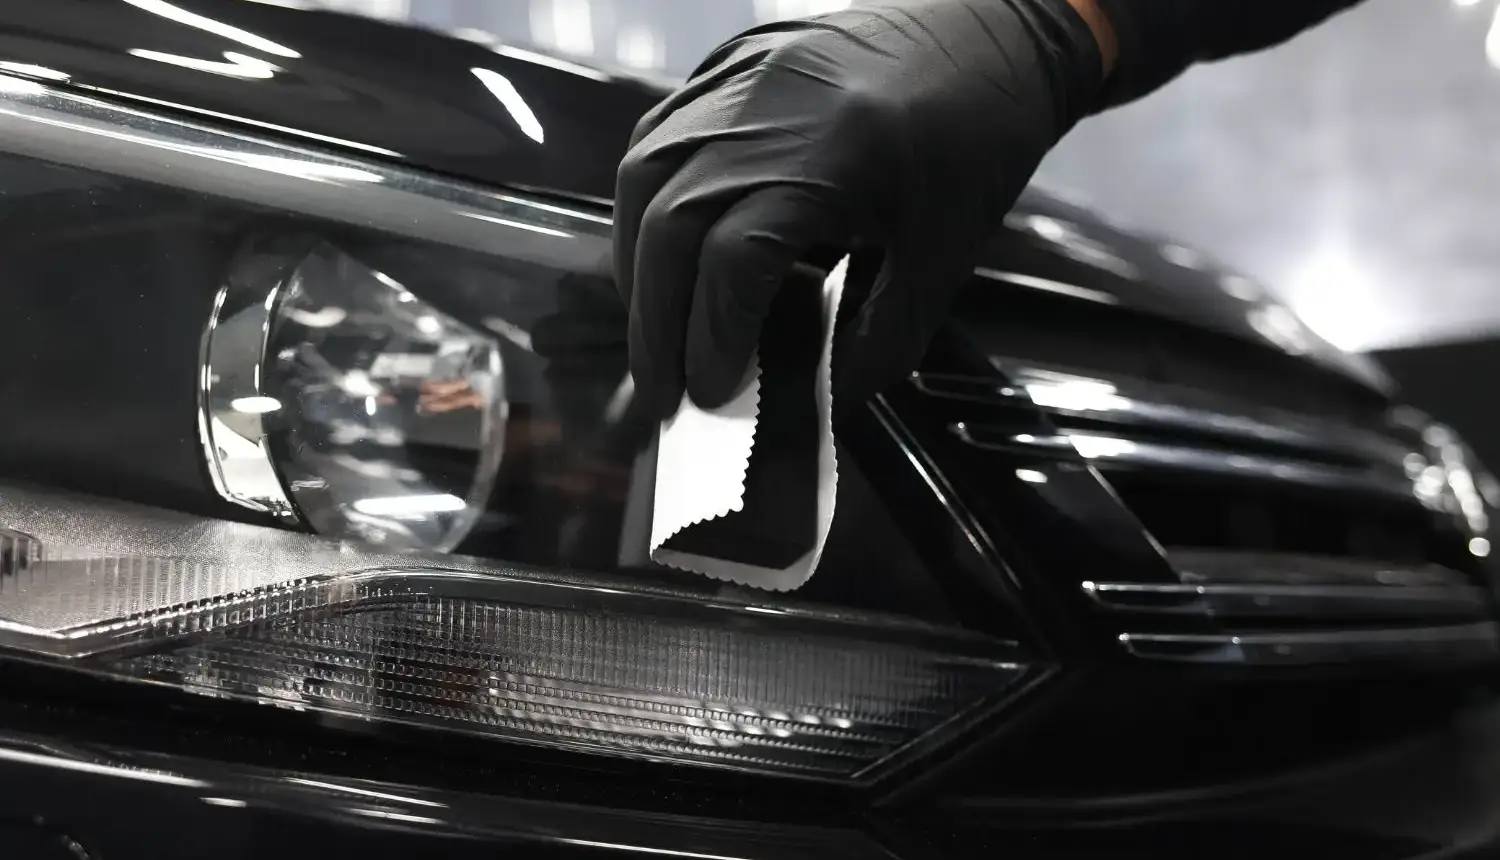
- Apply the ceramic coating: Apply an even layer of headlight ceramic coating using the applicator it comes with, then buff off the excess. Wait an hour for the first layer to set, then apply a second layer.
- Let it cure: Let the coating cure for 24 hours, and don’t wash the headlights or let them get wet during that time period.
Other Ways to Restore Headlights
The steps above are the polish method. Other ways to clear headlights include using 2K clear coat, vapor, acetone, household products and headlight restoration kits.
2K Clear Coat Method
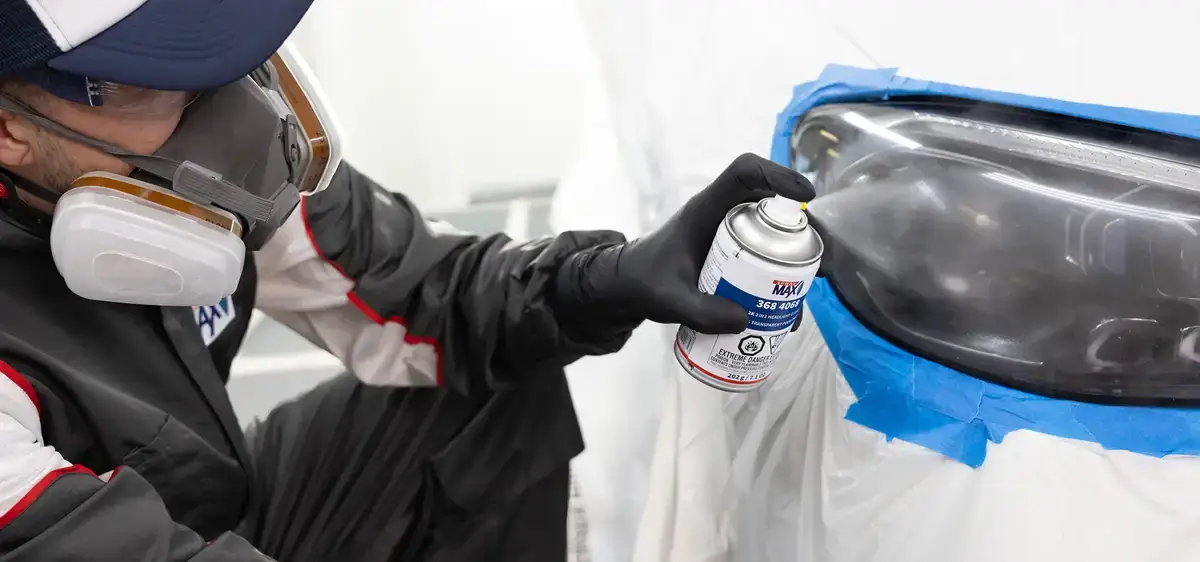
With the 2K clear coat method, sanding stops at 1500 grit and polishing is skipped. A 2K clear coat, which is mixed with a hardener so it cures hard, is then sprayed on and grips onto the sanding scratches. The clear coat itself adds UV protection.
Unless you’ve sprayed clear coat before, this method is best left to professionals, because it can easily go wrong. Applying too much clear coat causes drips, and spraying it from too far leaves a bumpy finish called orange peel.
Vapor Method
For the vapor method, the lens is sanded up to 1500 grit. Then a heated vapor, methylene chloride or acetone, is passed over the headlight and melts the finest scratches smooth. A headlight ceramic coating has to be applied after.
Acetone Method
With the acetone method, the lens is also sanded up to 1500 grit. Then acetone is rubbed on with a paper towel to melt the surface smooth. It doesn’t add UV protection, so a headlight ceramic coating needs to be applied after.
Acetone has to be used with caution. It can crack the plastic or turn it white, and once the lens cracks, the headlight has to be replaced.
Household Products
Toothpaste, baking soda, bug spray and WD-40 are all used to clear headlights. These products make the headlights look clearer temporarily. None of them properly remove the oxidized layer or put back the UV coat that protects the lens, so the headlights start to fog up again. It’s best to avoid them.
Headlight Restoration Kits
Headlight restoration kits work like the polish method. Some come with sandpaper, a compound and a wipe-on UV coating, and others only come with cleaning pads or wipes. Depending on the kit, it isn’t always enough to fix heavier damage or properly remove the oxidized layer. In a headlight maker’s lab testing, lenses restored with kits looked new at first but aged faster than the factory coat.
How Long a Headlight Restoration Lasts
How long the results last depends on the protection applied after the restoration.
| Protection | How long it lasts |
|---|---|
| Nothing | A few weeks or a month |
| Kit | 4 months to a year |
| Headlight ceramic coating | 2 to 3 years |
| 2K clear coat | 3+ years |
| Paint protection film | Up to 10 years |
How to Keep Restored Headlights Clear
It’s the sun that breaks headlights down, so what keeps them clear is less UV reaching the lens.
- Park out of the sun: Parking in a garage or shaded area reduces sun exposure on the headlights and their coating.
- Reapply the coating: Apply a new layer of headlight ceramic coating every 2 years, before the old one wears off.
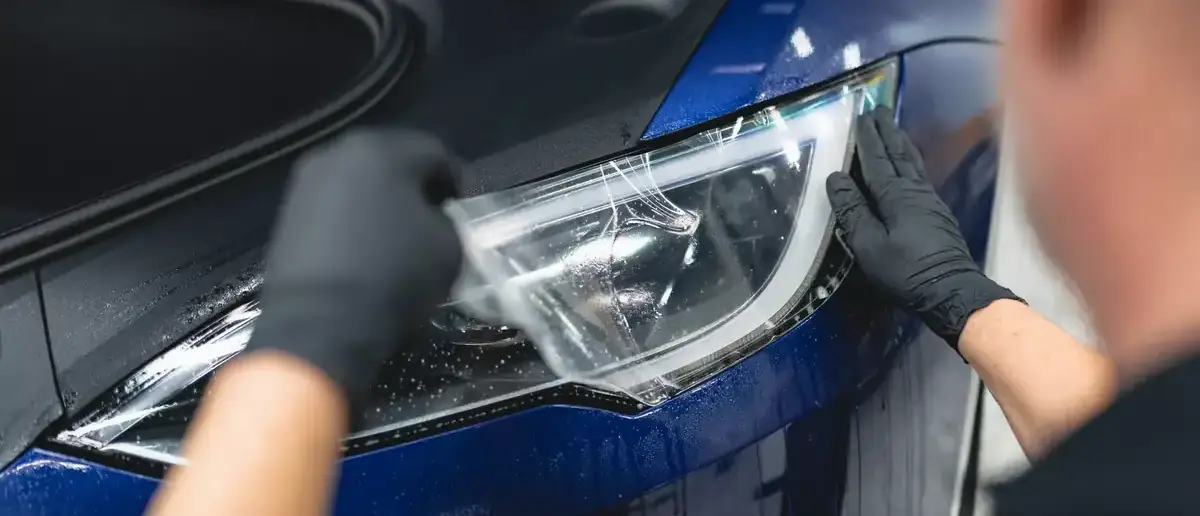
- Add paint protection film: Getting paint protection film installed on the headlights blocks UV and absorbs the rock chips instead of the lens.
Common Headlight Restoration Mistakes
- Scratching the paint: While you’re sanding, the sandpaper can slip off the lens and scratch the paint around it. Mask off the area around the headlights properly so the sandpaper can’t reach the paint.
- Not sanding thoroughly: Missing spots leaves some of the oxidized layer behind. Those spots turn hazy again early.
- Rushing through the grits: Moving up a grit too soon doesn’t refine the scratches from the previous step, so they still show after polishing.
- Overheating the plastic: Holding the polisher in one spot heats the plastic, which can crack or burn through the headlights.
- Skipping the UV protection: Without proper protection, the headlights fog up again in as little as a couple of weeks.
Restore or Replace Your Headlights
Whether to restore or replace your headlights depends on the damage and the vehicle. If the lens is cracked or condensation keeps building up inside, the headlight has to be replaced.
If the damage is on the outside, it comes down to the vehicle. On newer, more expensive vehicles, new headlights cost several hundred to over $1,000 each, and a restoration is a fraction of that price. So restoring them is the better choice. On older, less expensive vehicles, aftermarket headlights are easy to find, and new ones sometimes cost about the same as a restoration.
FAQs
Can you restore headlights permanently?
You can restore your headlights, but the restoration won’t be permanent. Headlights fail because of the sun’s UV rays. How long a restoration lasts depends on the UV protection applied after it.
Does WD-40 really restore headlights?
No. WD-40 cleans the headlights and leaves an oil film. Once that film washes off, the fog returns.
Does a magic eraser clean cloudy headlights?
A magic eraser can clean headlights with light haze. It removes light yellowing like fine sandpaper. It doesn’t fully remove the oxidized layer, which leads to the headlights oxidizing again.
Can you restore headlights without sanding?
Yes, only if it’s a light haze. Light haze comes off with just a cutting compound and a finishing polish. Heavier damage needs sanding to remove the oxidized layer.
How many times can headlights be restored?
There’s no set number. Once the factory coat is gone, each restoration takes off a layer of plastic, so the fewer restorations a headlight needs, the better. A proper UV coating protects the lens from yellowing and fogging up again, so it needs restoring less often and the headlights last longer.
How long does a headlight restoration take?
A headlight restoration takes 1 to 2 hours, depending on the condition of the headlights.
Is professional headlight restoration worth it?
Yes, if you want every step done properly, a professional headlight restoration is worth it. A professional goes through each step thoroughly, properly sanding off all the oxidized plastic, polishing it out and then adding the UV protection.
Final Thoughts
In a proper headlight restoration, the oxidized layer is sanded off. The lens is made fully clear, and UV protection is applied to keep it from oxidizing again. When it’s done properly, the headlights are clear, stay clear and give off more light.
At Grandeur Autos, our headlight restoration in Calgary goes through every step properly, from the wet sanding to the layers of UV protection. To learn more or book yours, contact us at Grandeur Autos or give us a call.