the Importance of Clean Wheels and Tires
Regularly cleaning your wheels and tires is important for maintaining the appearance of your vehicle. Over time, brake dust, dirt, and road grime build up on your wheels and tires, leading to an ugly and unattractive look.
Tools and Materials You’ll Need
Cleaning Products
To safely and effectively clean your wheels and tires, you’ll need the following products:
- Tire and Wheel Cleaner: A cleaner to break down dirt, grime, and old tire dressings, safe for use on both tires and rims. We recommend P&S Brake Buster.
- Iron Remover: Useful for removing stubborn brake dust and iron contaminants CarPro Iron X is a highly suggested product.
- Tire Dressing: Protects the tires from UV rays and gives them a deep, rich finish.
Recommended Tools
- Pressure Washer or Hose: To rinse off dirt, grime, and cleaning products.
- EZ Large Wheel Brush: Great for cleaning deep into wheel barrels.
- Soft-Bristle Wheel Brush: Ideal for cleaning complex wheel designs without scratching.
- Tire Brush: A stiffer brush designed to scrub and clean the rubber surface of the tires.
- Detailing Brush: For hard-to-reach areas like behind the spokes and around lug nuts.
- Long Tire Brush: Perfect for reaching and cleaning the wheel wells, where dirt and grime often accumulate.
Step-by-Step Guide to Cleaning Wheels and Tires
Applying Iron Remover
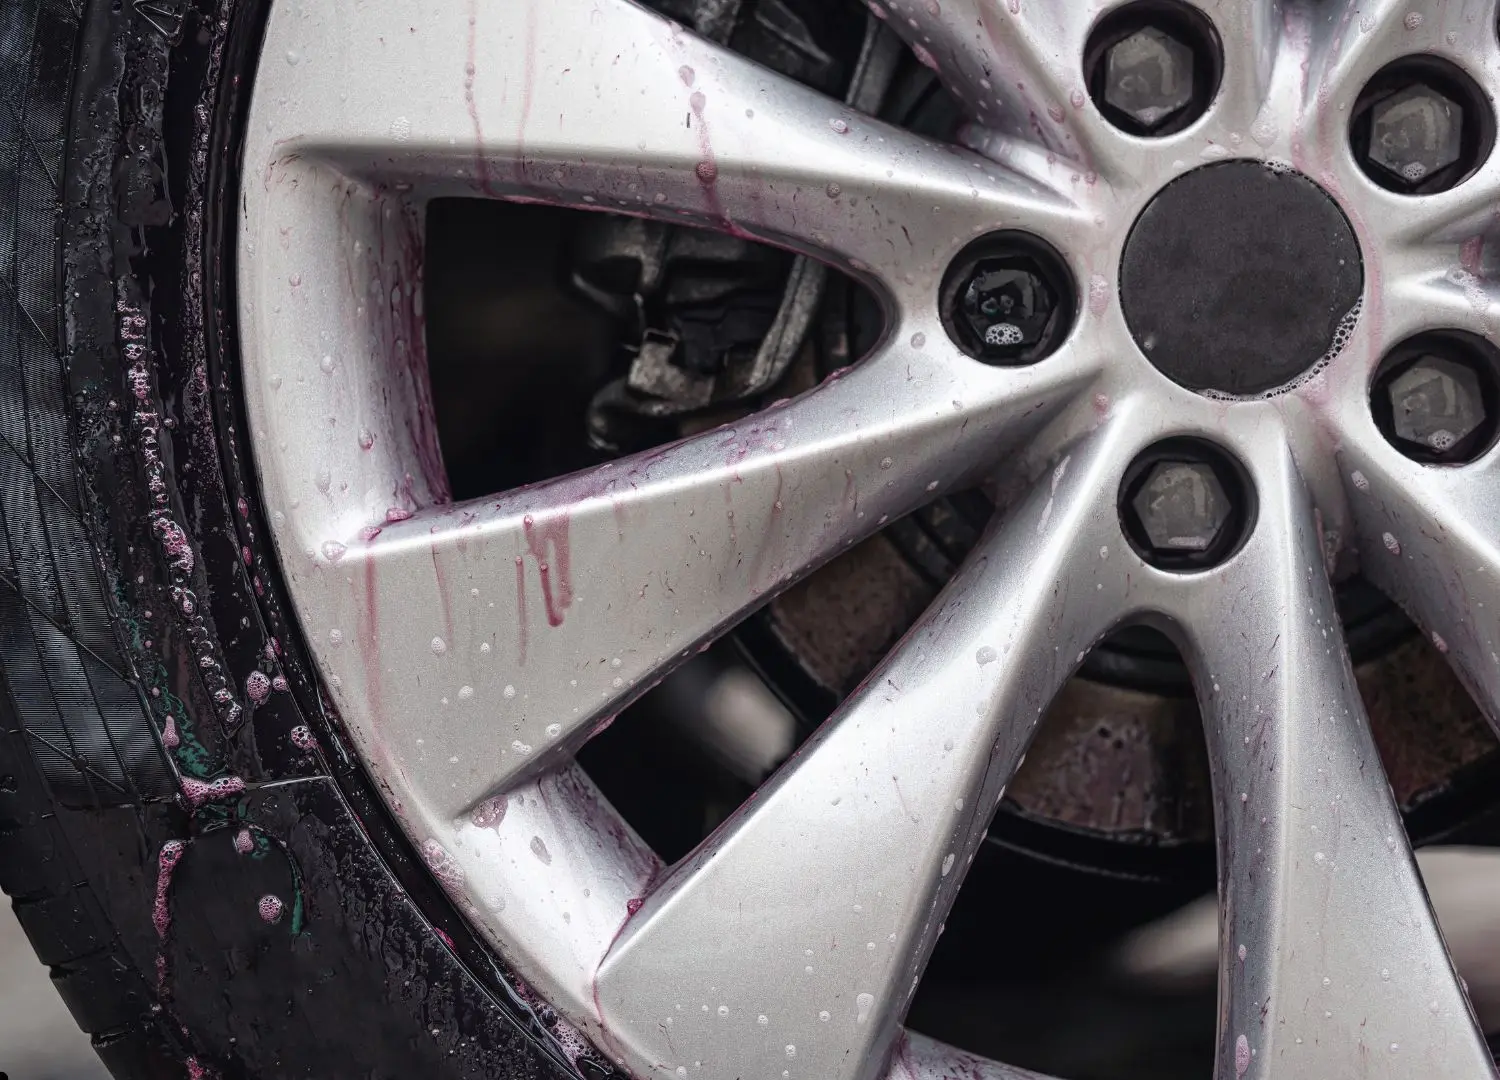
Start by applying an iron remover directly onto dry wheels, focusing on areas with heavy brake dust accumulation. Allow the iron remover to sit for a few minutes as it reacts with iron particles, causing a color change. This step is crucial for breaking down and removing embedded iron contaminants.
Pre-Rinsing Your Wheels and Tires
After the iron remover has had time to sit, thoroughly rinse your wheels and tires with a hose or pressure washer. This pre-rinse is essential as it washes away the iron remover, loose dirt, dust, and debris, making the cleaning process more effective. By removing surface dirt first, you reduce the risk of scratching the wheel’s surface during scrubbing.
Applying Wheel Cleaner
When applying wheel cleaner, you’ll want to start by generously spraying the cleaner onto the entire surface of the wheel, ensuring full coverage. This helps in loosening up dirt, grime, and brake dust. Once the cleaner is applied, let it dwell on the surface for a few minutes. This gives the cleaner enough time to break down stubborn contaminants. Allowing the product to sit will make the cleaning process much easier.
Cleaning the Wheels
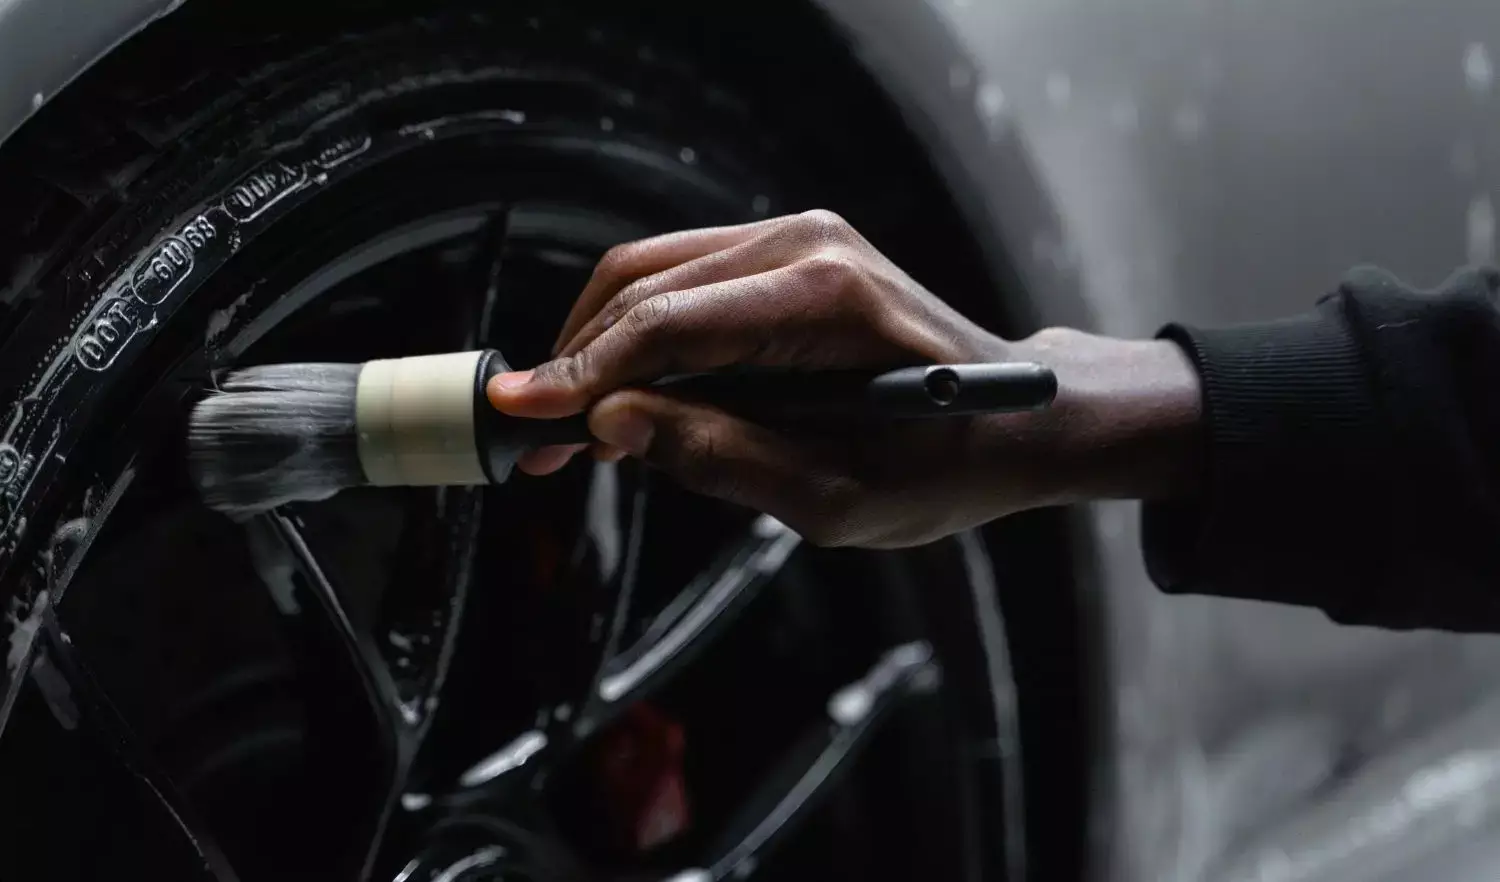
Using a soft wheel brush, agitate the wheel cleaner on the wheels. Focus on one wheel at a time, scrubbing around the lug nuts, and other intricate areas. For cleaning deeper inside the rims and in between the spokes, use the EZ large wheel brush to ensure you reach those hard-to-access spots. For the wheel wells, use a long tire brush to remove any dirt and grime.
Cleaning the Tires
Scrub the tires using a stiff tire brush and the same cleaner used on the wheels. Make sure to clean the sidewalls thoroughly, removing any old tire dressing, dirt, or grime. This step ensures a clean surface for applying tire dressing later.
Rinsing and Drying
Once scrubbing the tires is complete, rinse the wheels and tires thoroughly with clean water. After rinsing, allow the tires to air dry or use an air blower to speed up the drying process.
Applying Wheel Protection
To ensure your wheels stay clean and protected for longer, apply a sealant or ceramic coating after the cleaning process. This protective layer creates a barrier against brake dust, road grime, and other contaminants, making it easier to maintain the wheels and preventing corrosion. A sealant provides a good level of protection and shine, while a ceramic coating offers durability and long-lasting protection. Apply the product according to the manufacturer’s instructions, and ensure even coverage for the best results.
Tire Dressing for a Finishing Touch
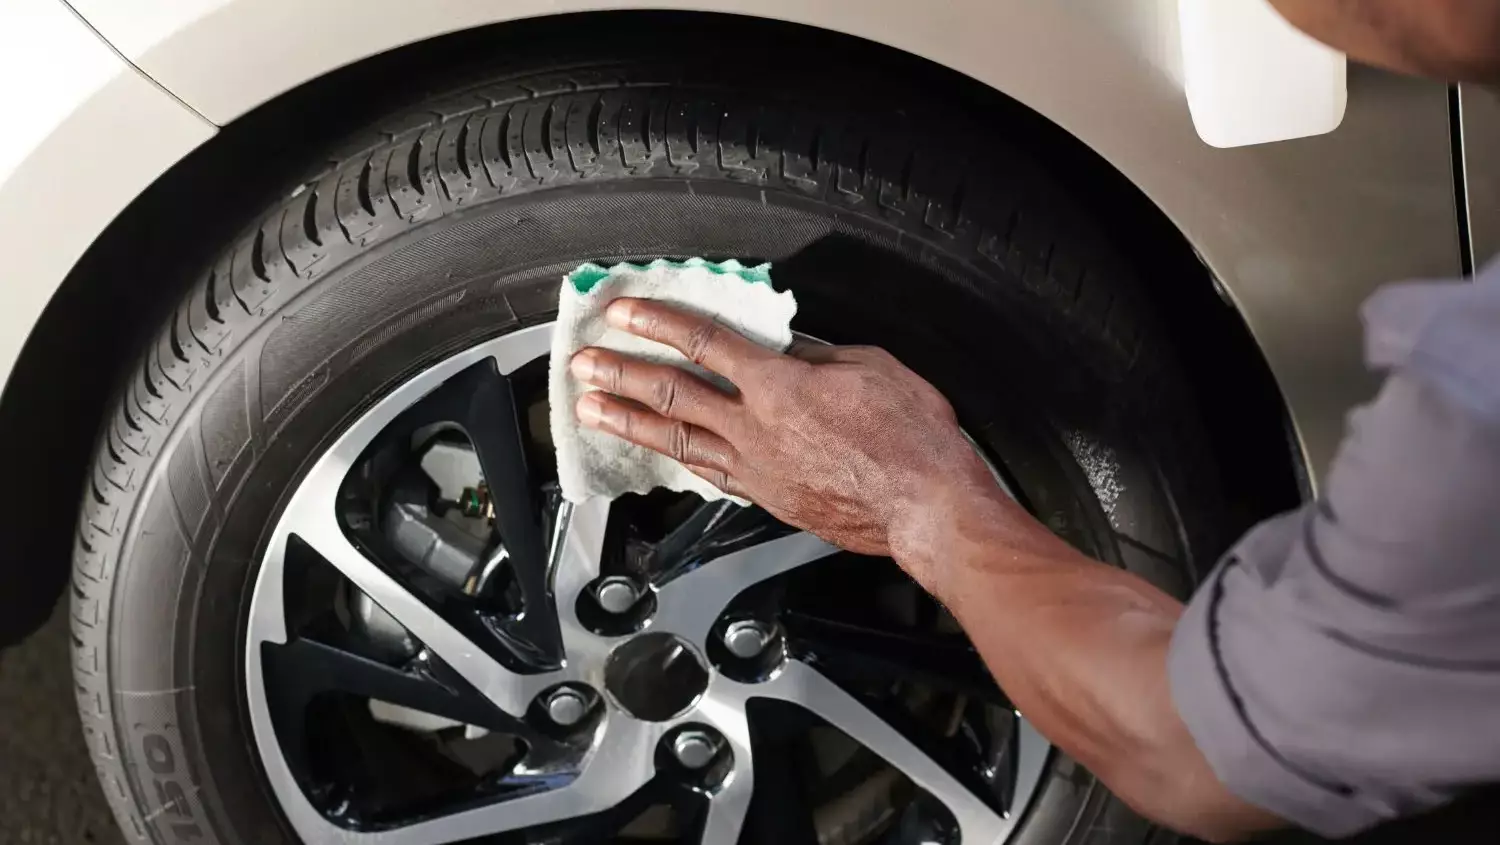
Finally, apply a tire dressing to your tires to give them a glossy finish and protect the rubber from cracking and fading. Use a foam applicator to ensure even coverage, and allow the dressing to dry before driving.
Common Mistakes to Avoid When Cleaning Wheels and Tires
Neglecting the Wheel Wells
The wheel wells are often overlooked during the cleaning process, but they are just as important as the wheels and tires themselves. Dirt, mud, and road grime build up in the wheel wells. Make sure to clean these areas thoroughly with a long tire brush to prevent buildup and maintain the condition of your tires.
Skipping Protective Measures
After cleaning, it’s important to apply a protective layer to your wheels and tires. Skipping this can leave your wheels vulnerable to brake dust, road salt, and other contaminants. Whether you choose a sealant or ceramic coating, adding this layer of protection will keep your wheels looking clean and new for longer, while making future cleanings easier.
FAQs About Cleaning Wheels and Tires
Can I use household cleaners to clean my wheels and tires?
It’s best to avoid household cleaners as they may contain harsh chemicals that can damage your wheels and tires. Always use products specifically designed for tires and wheels.
What is the benefit of using a sealant or ceramic coating?
A sealant or ceramic coating add a barrier against brake dust, road grime, and other contaminants. It makes future cleanings easier and helps maintain the appearance and longevity of your wheels.
How long should I let the iron remover sit on the wheels?
Normally, an iron remover should sit on the wheels for 2-5 minutes to effectively break down iron deposits. However, follow the specific product’s instructions.
How does cleaning wheels and tires fit into car detailing?
Cleaning your wheels and tires is an important part of car detailing. It enhances the vehicle’s appearance and also prevents brake dust and road grime from building up, which can cause long-term damage to both the wheels and surrounding areas. Keeping your wheels and tires clean complements other detailing efforts, ensuring your entire vehicle remains in top condition.


