You can wash your car every week and still watch the paint fade, collect swirl marks, and lose that shine it had when you first bought it. That’s because washing a car and detailing a vehicle aren’t the same thing. A wash removes dirt. A detail corrects damage, removes what washing can’t, and protects the paint from the sun, road grime, and everyday wear that dulls the finish over time.
This detailed guide covers the entire exterior detailing process from start to finish. Whether this is your first detail or you’re looking to improve your process, these steps will help you get results that compare to professional car detailing.
What’s Actually Involved
Many car owners assume a simple wash is enough. It’s not. The car detailing process goes deeper, and it happens in phases: washing, decontamination, correction (if needed), and protection. Each phase builds on the last, and skipping steps can affect the results.
Washing removes surface dirt. Decontamination pulls out embedded contaminants that washing can’t touch. Polishing corrects car paint imperfections like swirl marks and light scratches. And protection seals everything with wax or sealant to protect the exterior from future contamination.
Here’s the thing: contaminants bond to your clear coat over time. Road tar, brake dust fallout, tree sap, and industrial particles embed themselves into the paint. Without decontamination, they stay put no matter how often you wash your car. That’s why regular detailing matters more than just frequent washing.
Everything You Need
Get all your exterior car detailing tools and products ready before you start, so you’re not looking around for things you’ll need mid-job. Having the right detailing tools and car cleaning products makes everything easier.
Washing Supplies
- Two buckets with grit guards
- Low pH car wash shampoo
- Quality car wash mitt (microfiber or lambswool)
- Pressure washer or garden hose
- Foam cannon (optional but helpful)
- Microfiber drying towels
- Wheel cleaner and brushes
- Stiff tire brush
Decontamination Supplies
- Iron remover (CarPro Iron X or similar)
- Clay bar with lubricant
- Tar remover for stubborn spots
Protection Supplies
- Car wax or paint sealant
- Foam applicator pads
- Ammonia-free glass cleaner
- Tire dressing and applicator
- Trim restorer
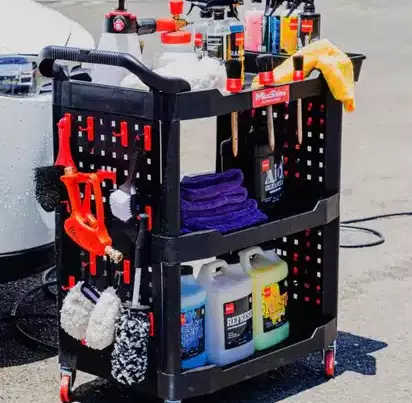
You can find auto detailing supplies at most automotive stores or online. If you’re new to DIY detailing, a basic kit will have all the essentials, though specific and certain car detailing products tend to give better results.
Step 1: Wheels and Tires First
Always start with the wheels and tires. They’re the dirtiest part of the car, usually caked with brake dust, road grime, and tar. If you clean them last, you’ll splash contaminated water onto exterior surfaces you’ve already washed.
Spray wheel cleaner on dry wheels and let it dwell for a few minutes to break down the grime. Scrub with a wheel brush, and use a smaller detailing brush for tight spots around lug nuts and behind spokes. Don’t forget the inner barrel where brake dust builds up the most.
For tires, use a stiff brush on the sidewalls to remove old dressing and embedded dirt. This gives you a clean surface for tire dressing later.
Rinse everything thoroughly before moving on.
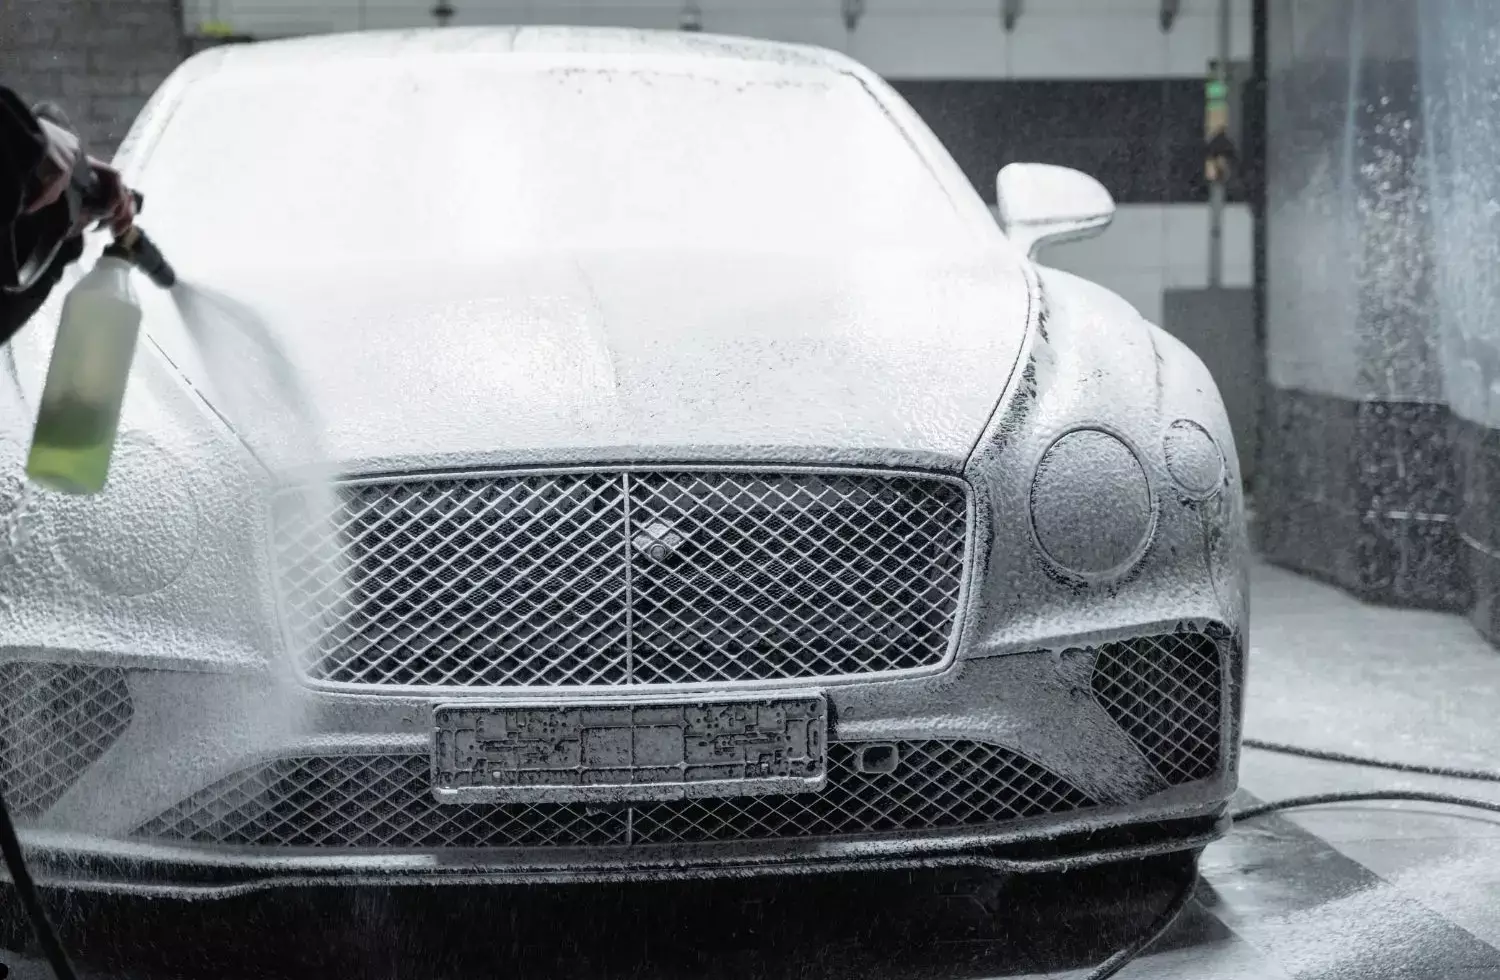
Step 2: Pre-Rinse the Vehicle
Before you start, make sure the car is parked in the shade and the exterior surfaces are cool to the touch. Hot panels cause soap and water to dry too fast, which leads to streaks and water spots.
Once the car is cool, rinse the entire vehicle from top to bottom. This removes loose dirt and debris that would otherwise scratch the paint during the contact wash.
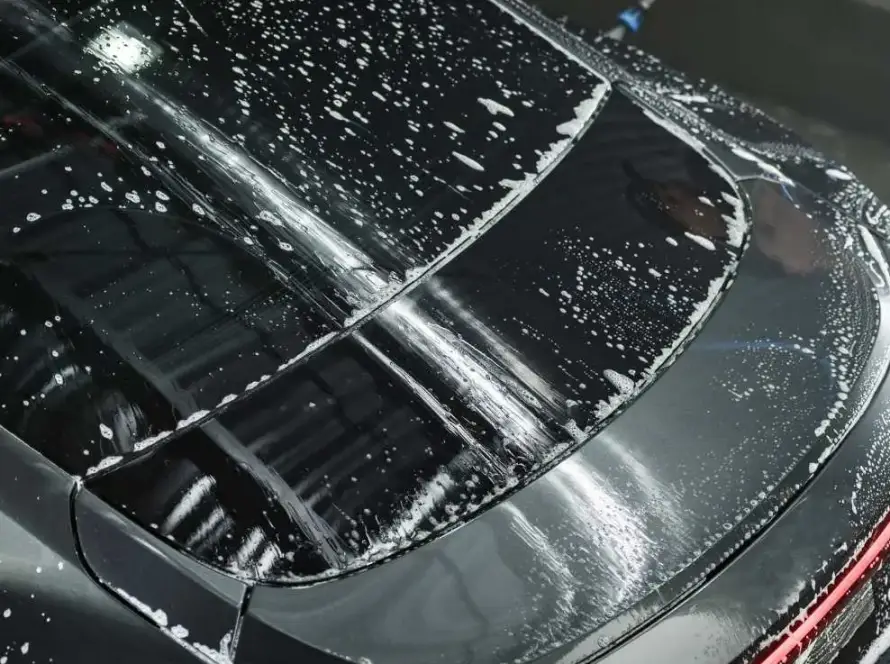
Focus on areas where dirt tends to build up, like rocker panels, wheel wells, lower bumpers, behind mirrors, and around emblems. If the car is heavily soiled, this is a good time to use a foam cannon. Foam clings to the surface and helps lift dirt before you make contact with a mitt.
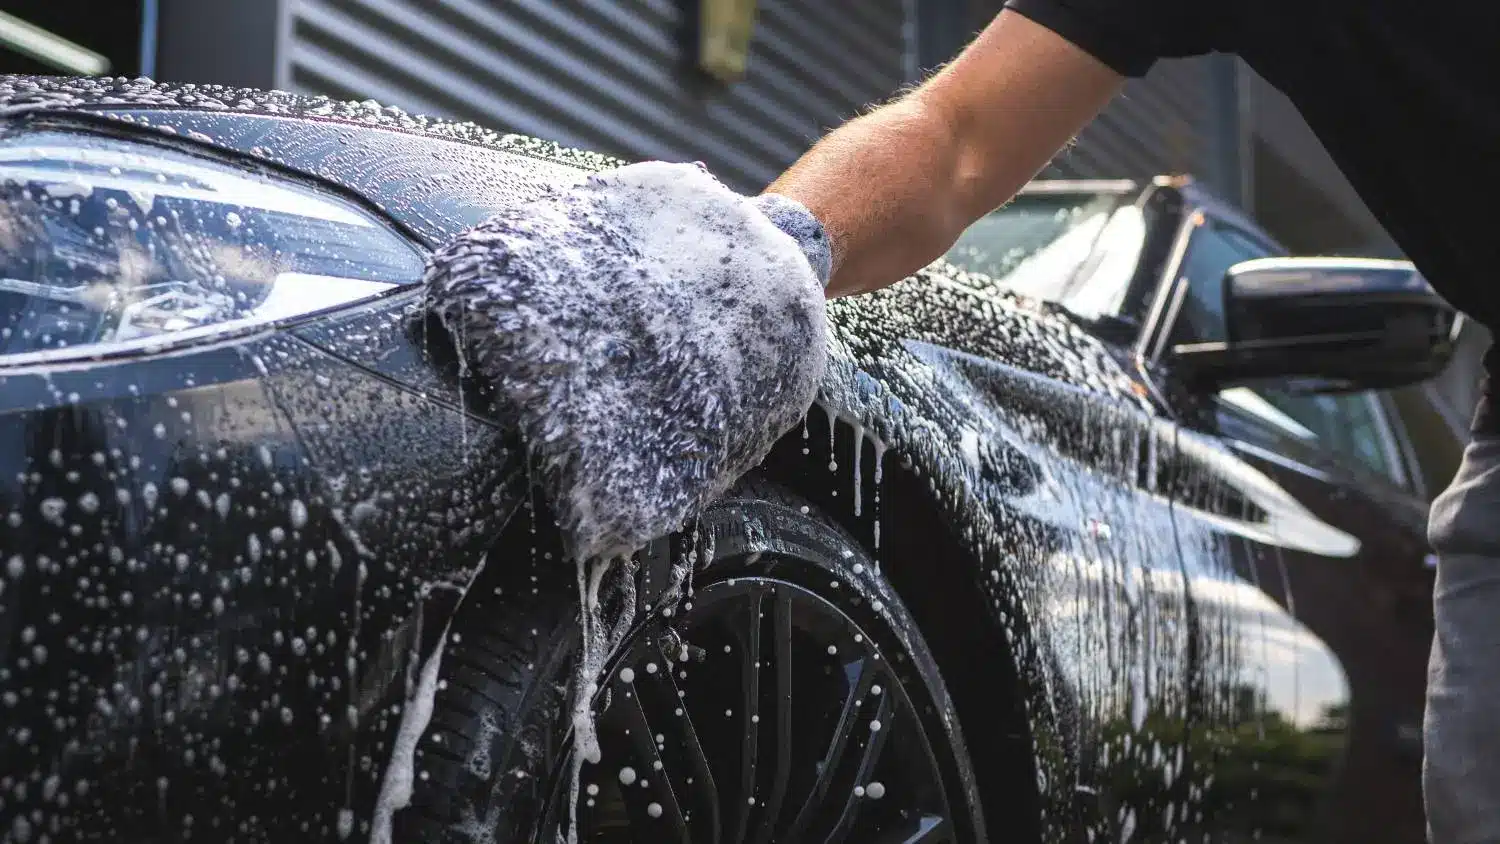
Step 3: Two-Bucket Wash
The two-bucket method is the foundation of a detailed wash. One bucket holds car wash soap mixed with water. The other holds clean water for rinsing your mitt. Grit guards in both buckets trap dirt at the bottom.
Dip your mitt in the soapy bucket, wash a section of the car exterior, then rinse the mitt in clean water before putting it back into the soap. This keeps you from transferring dirt back onto the paint.
Work from the roof down since upper panels are usually cleaner than lower sections. Use straight lines with light pressure rather than circles, which can create swirl marks. Rinse each section before the soap has a chance to dry.
Step 4: Rinse and Dry
Give the car a final rinse to remove all soap residue. Check crevices, around mirrors, and door jambs. It helps to open the doors briefly and rinse the jamb edges too.
If you have an air blower, it’s great for pushing water out of tight spots like mirror housings, emblems, and trim. This prevents water from dripping out after you start drying.
Dry the car right away. Drying your car immediately prevents water spots, which is especially important in Calgary where we have hard water can leave residue behind. Pat with microfiber towels rather than dragging across the paint, and use a drying aid for extra lubrication if you have one.
Step 5: Chemical Decontamination
Now that the car is clean and dry, it’s time to clean the exterior at a deeper level. Iron remover handles brake dust and industrial fallout that’s bonded to the paint at a molecular level. Regular car cleaning simply can’t reach these decontaminants.
Spray iron remover across all painted surfaces. You’ll see it turn purple or red as it reacts with iron particles. Let it dwell for two to five minutes according to the product instructions, but don’t let it dry on the surface.
Rinse thoroughly. You’ll notice discolored water running off, which is the contamination leaving the paint.
If you’re dealing with tar spots, use a dedicated tar remover on those areas before moving to the next step.
Step 6: Clay Bar Treatment
After chemical decontamination, use a clay bar to remove whatever bonded contaminants are left. This step is really what separates a basic wash from a thorough detail.
Spray clay lubricant generously onto a section of paint, then glide the clay back and forth with light pressure. You’ll feel it grabbing contaminants as it moves. Once the surface feels smooth, that section is done.
Check the clay frequently and fold it to expose a clean surface. And if you drop it on the ground, throw it away. Any grit it picks up will scratch your paint.
Work panel by panel until the entire vehicle exterior feels smooth. That’s when you know you’ve got the best surface for polishing or protection.
Once you’ve clayed the whole car, give it a quick rinse to remove any remaining lubricant, then dry it completely. You need a clean, dry surface before moving on.
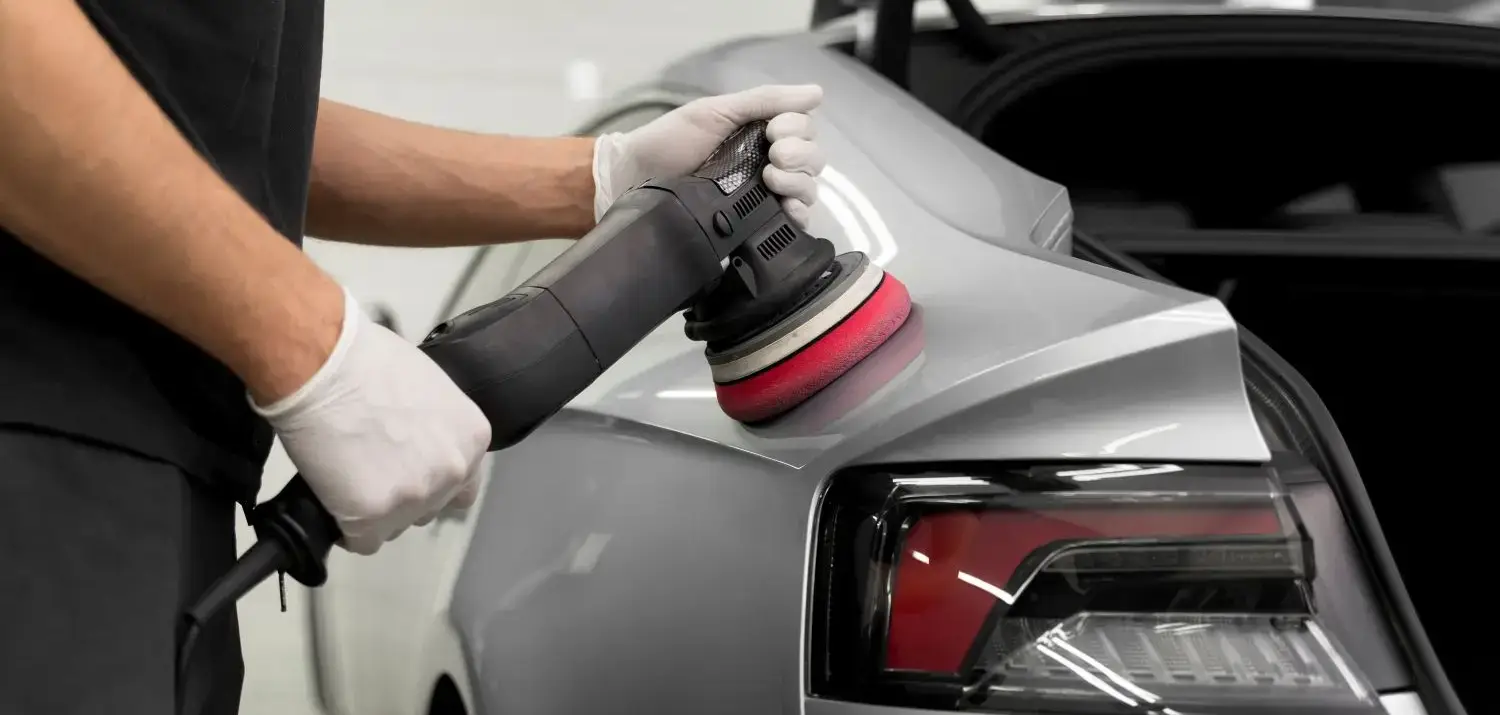
Step 7: Polish (If Needed)
Polishing removes a thin layer of clear coat to level out swirl marks, scratches, or oxidation. It’s optional, but it makes a big difference on paint that’s been neglected or has visible imperfections.
Apply a small amount of polish to your pad, spread it at low speed, then work at medium speed in overlapping passes. Keep the polisher moving so you don’t burn through the clear coat in one spot.
Wipe the residue with a clean microfiber towel and inspect under good lighting. If swirls are still visible, make another pass. Before moving to protection, use a panel wipe to remove any polish oils from the surface.
Not every detailing job needs polishing. If the paint looks good after washing and claying, you can skip straight to wax or sealant.
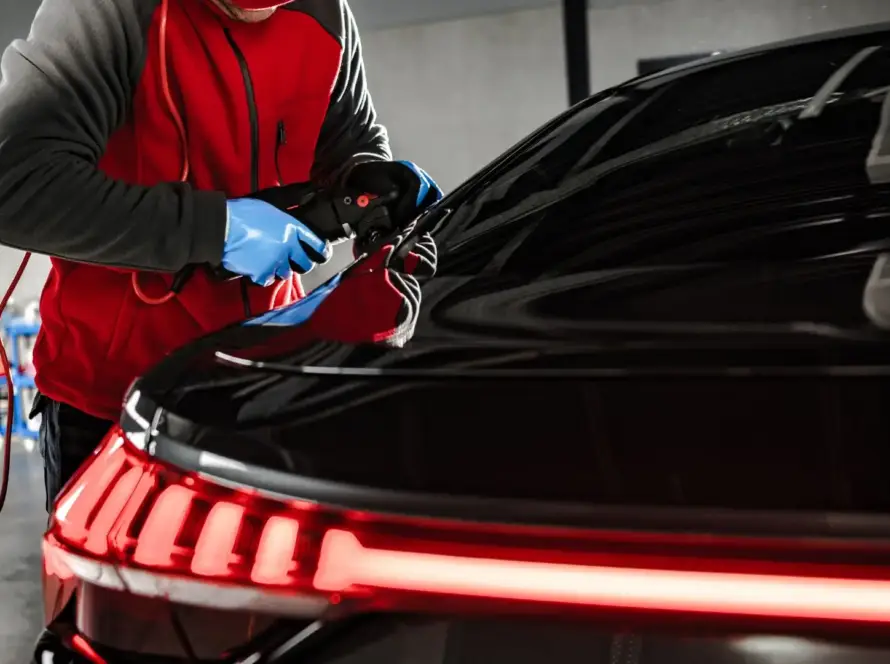
Step 8: Wax or Sealant
Protection is what makes a detail last. Without it, your clean car is immediately exposed to UV rays, bird droppings, tree sap, and road grime with nothing to shield it.
Traditional car wax gives a warm glow and solid water beading. Carnauba wax offers that deep shine but typically lasts four to eight weeks. Synthetic sealants can extend protection to three to six months.
Apply thin layers with a foam applicator pad. Let it haze according to the product directions, then buff off with a clean microfiber towel. Flip the towel frequently so you’re not smearing residue back on. Work one panel at a time for even coverage.
If you want longer-lasting protection, ceramic coatings can last years, but they require careful application. That’s something often best left to detailing experts.
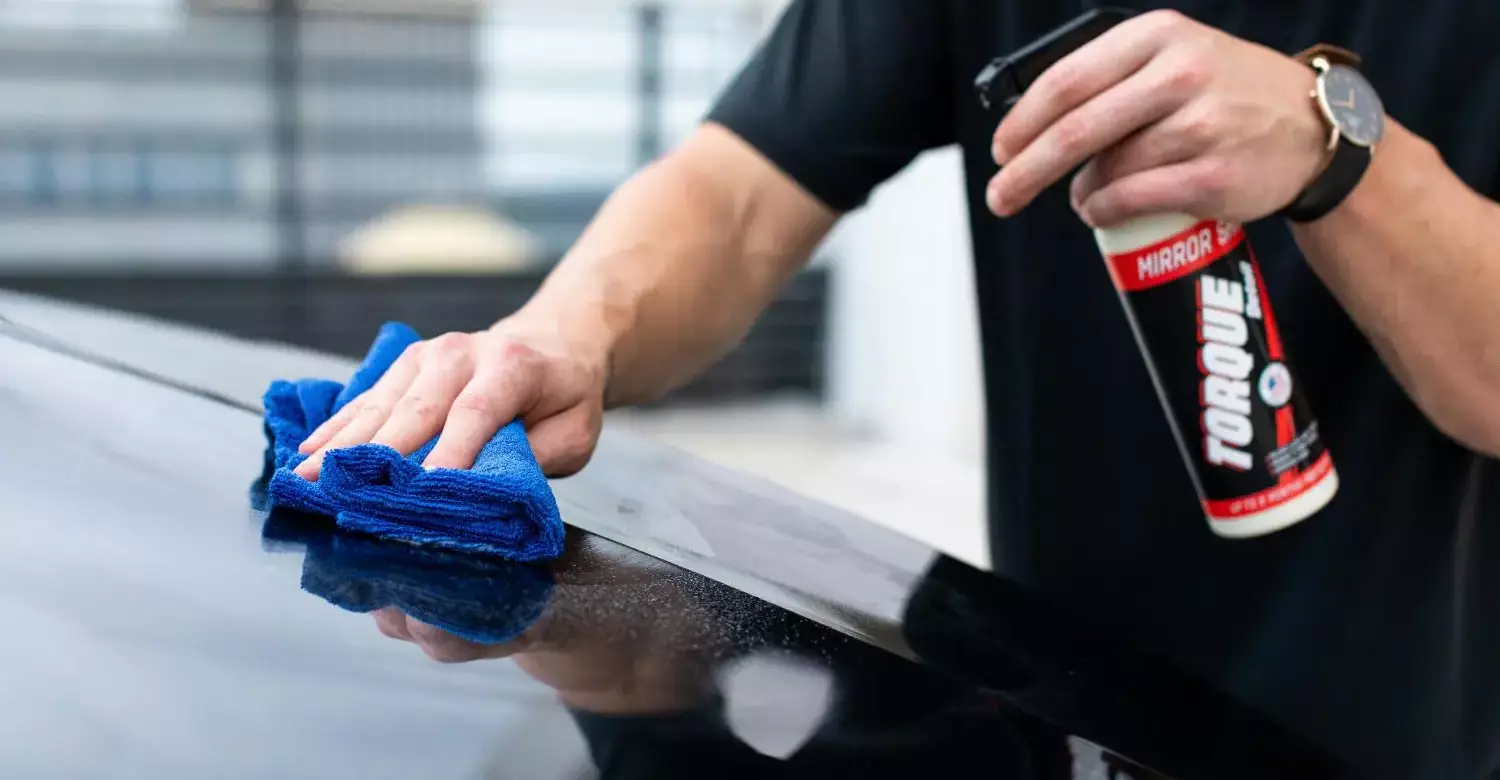
Step 9: Clean the Glass
Clean windows make a bigger difference than most people expect. It ties the whole look together.
Use an ammonia-free glass cleaner and spray it onto a microfiber towel rather than directly on the glass. This prevents overspray from landing on your freshly waxed paint.
Wipe in straight lines, flip to a dry side of the towel, and buff out any streaks. Check your work from a few different angles since streaks tend to show up when light hits at certain angles.
Interior glass usually needs extra attention because of the film that builds up from off-gassing plastics. Use a separate towel for the inside and make a second pass if needed to fully remove any hazing.
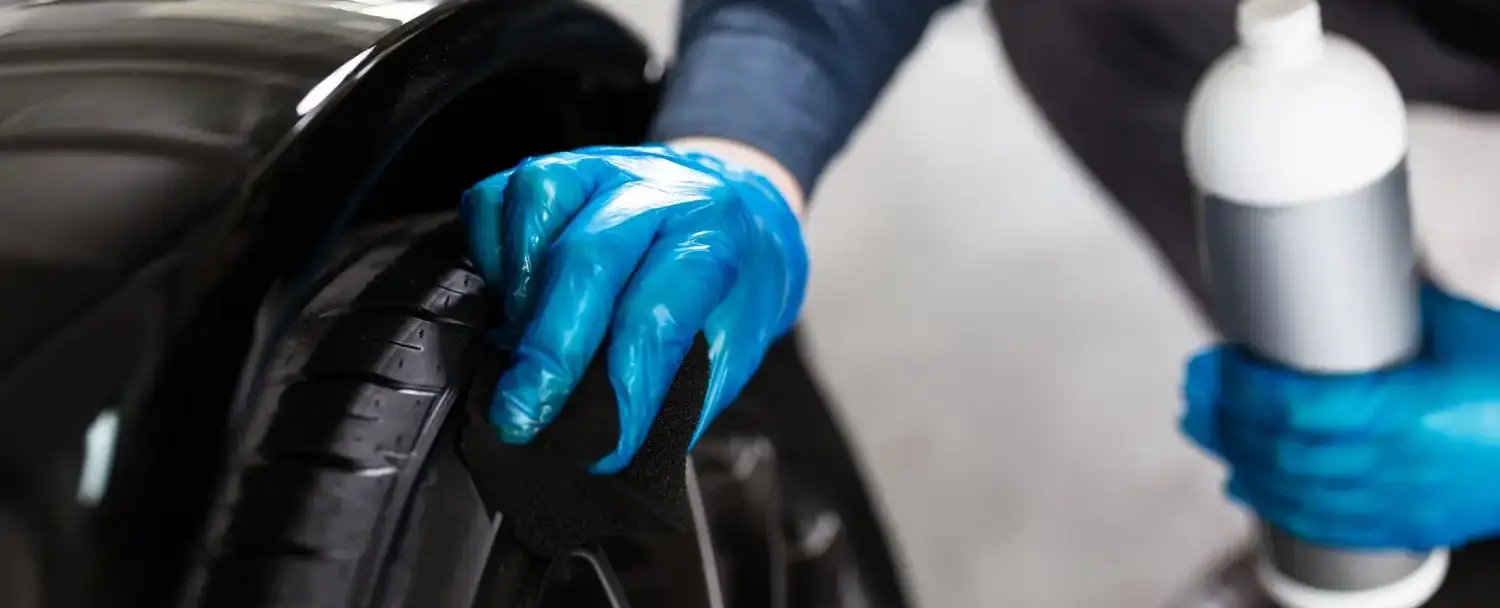
Step 10: Tires and Trim
The finishing touches really pull everything together.
Apply tire dressing to clean, dry tire sidewall using a foam applicator. Use a thin coat, let it absorb for a minute, then wipe off any excess. If you use too much, it’ll sling onto your paint when you drive. A satin finish tends to look more natural than high-gloss, but that’s personal preference.
For faded plastic trim around windows, bumpers, or fenders, a trim restorer brings back the dark color and adds some UV protection. It’s a small step that makes a noticeable difference, especially on older vehicles where the trim has gone gray.
Step 11: Final Inspection
Walk around the car under good lighting and really look at your work. Check for missed spots, water streaks, or wax residue hiding in crevices and around emblems.
Run your hand across the paint. It should feel completely smooth. A soft detailing brush helps get dried product out of tight areas.
Take five minutes on this step. It’s the difference between a good detail and a great one. When everything checks out, you’ll have a pristine exterior that’s looking like new.
Maintaining Your Results
You don’t need a full detail every time you wash. Once you’ve done the work, keeping it up is pretty straightforward.
Wash your car regularly using the two-bucket method with a pH-balanced car shampoo to prevent any wax or sealants from being stripped off. A spray wax after each wash helps extend the protection on the exterior.
Between washes, a quick wipe with a detail spray takes care of light dust without needing water. You’ll know your protection has worn off when water stops beading on the surface. At that point, washing alone won’t restore it. Time for another detail.
For most vehicles, that means a full thorough exterior detail around two to six times a year, with regular washes in between. That’s the baseline for good car care if you want to keep your car looking its best long term.
FAQs
How long should I set aside for this?
A full exterior detail can take anywhere from two to four hours, depending on the car’s size and condition. Paint correction adds another two to four hours. Once you’ve got a rhythm going, maintenance washes with a wax/sealant top-up take under two hours.
I’ve been washing my car regularly. Why do I still need to detail it?
Washing handles surface dirt, but it can’t remove bonded contaminants like iron fallout and tar. It also doesn’t correct swirl marks or add lasting protection. Automotive detailing fills those gaps. Think of washing as maintenance and detailing as restoration plus protection.
What if I don’t have a garage or shaded area?
Work early morning or evening when the sun isn’t directly on the car. Products dry too fast on hot panels, which causes streaking and uneven results. If that’s not an option, work one panel at a time and move quickly.
My paint looks fine. Can I skip polishing?
Absolutely. Polishing removes clear coat, so you only do it when there’s something to fix. If your paint looks good after the wash and clay steps, go straight to wax or sealant.
Is it worth paying for professional detailing?
Depends what you need. For a standard wash and wax, DIY makes sense once you know how to detail a car properly. For paint correction or ceramic coating, professional detailers have the equipment and experience to get it right. There’s a reason those services cost what they do.
What’s the bare minimum I need to get started?
Two buckets with grit guards, car shampoo, a wash mitt, microfiber towels, and wax. You can detail a car well without a foam cannon or polisher. Start simple and add tools as you go.
Should interior detailing happen at the same time?
It doesn’t have to, but if you’re doing both in one session, start with the interior. Cleaning the inside first keeps you from dragging dirt, dust, and moisture back into the interior after the exterior is finished.
Final Thoughts
A proper exterior detail takes time, but the payoff is a car that looks better and stays protected longer than any wash routine can manage. Once you understand the process, you can decide how much to take on yourself and when to bring in professionals.
If you’d rather skip the learning curve, Grandeur Autos offers complete detailing services in Calgary. Contact us to schedule your detail.