Skip to contentSkip to sidebarSkip to footer
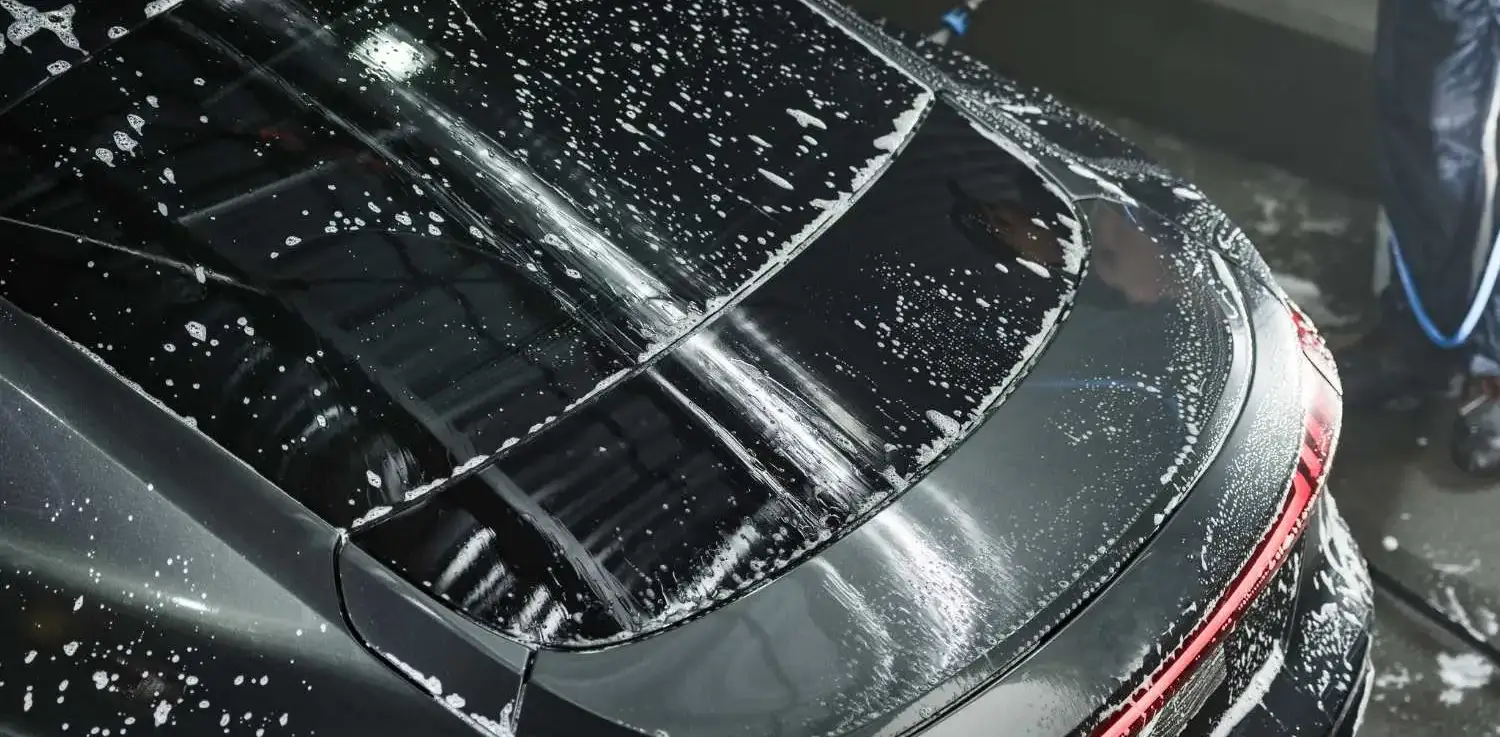
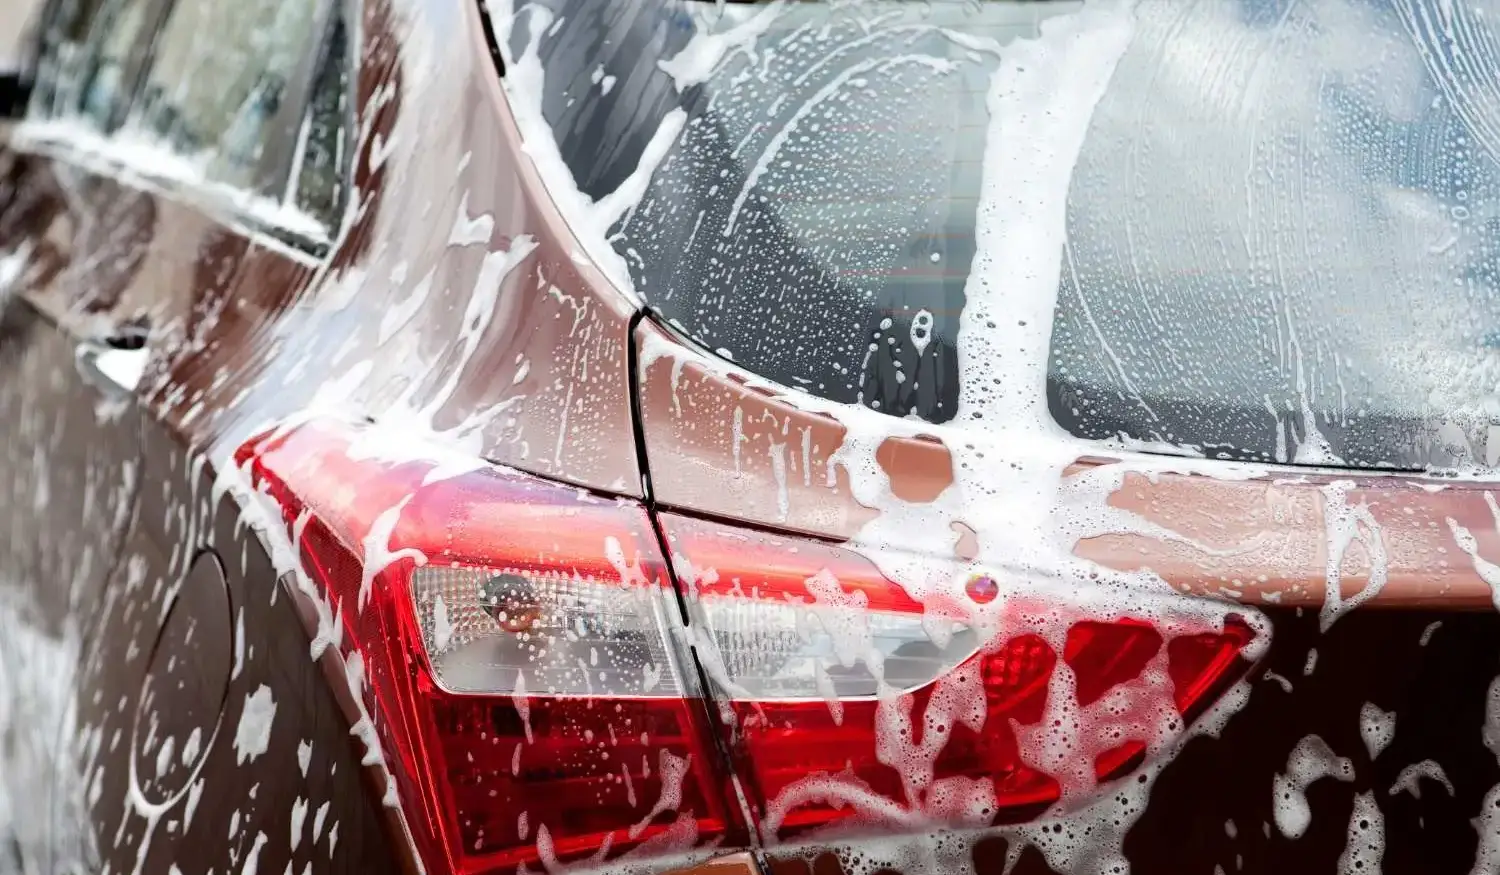
Washing your car at home is one of the best things you can do to keep it looking its best, but how you wash it is extremely important.
The two bucket wash method is how professional detailers wash a car to avoid scratching it. One bucket is used for soapy water to wash the exterior, and the second bucket is for clean water to rinse the wash mitt. This way, the dirt rinses out of the mitt instead of going right back onto the paint. That’s the benefit of the two bucket wash. It reduces the risk of adding swirls and scratches to your paint.
The Problem With Washing Your Exterior Using One Bucket
The problem with washing your vehicle’s exterior using one bucket is that your wash water and your rinse water are the same. As you wash your vehicle, the wash mitt lifts dirt and grit off the paint, and that grit ends up in the bucket every time you rinse it. The next time you dip the mitt, it picks that grit right back up.
Washing your vehicle this way over a long period of time is what creates the micro scratches and swirl marks, those light circular marks you see when the sun hits the paint. Since grit is granular, once it’s reabsorbed by the mitt, it acts like fine sandpaper, so you end up scratching the paint as you’re washing the car.
The swirls build up over time, and it’s not something you’ll notice after one wash. But a few months of washing like this, and the paint will start to look dull and hazy.
Tools and Products Needed for a Two Bucket Wash
It’s best to have everything ready before starting so you’re not looking for things mid-wash. Here’s what you need:
Two buckets: A wash and rinse bucket
Pressure washer or hose: To rinse the exterior before and after the wash. A pressure washer is the better option since it makes the job much easier, but if you don’t have one, a hose works fine too.
Grit guards: These sit at the bottom of the bucket and trap the dirt down low so it doesn’t mix back into your water.
A wash mitt: A good microfiber or chenille mitt is soft on the paint and very effective for washing the exterior. Don’t use a sponge or old towels, they hold and absorb a lot of dirt, which is what you don’t want going on your paint.
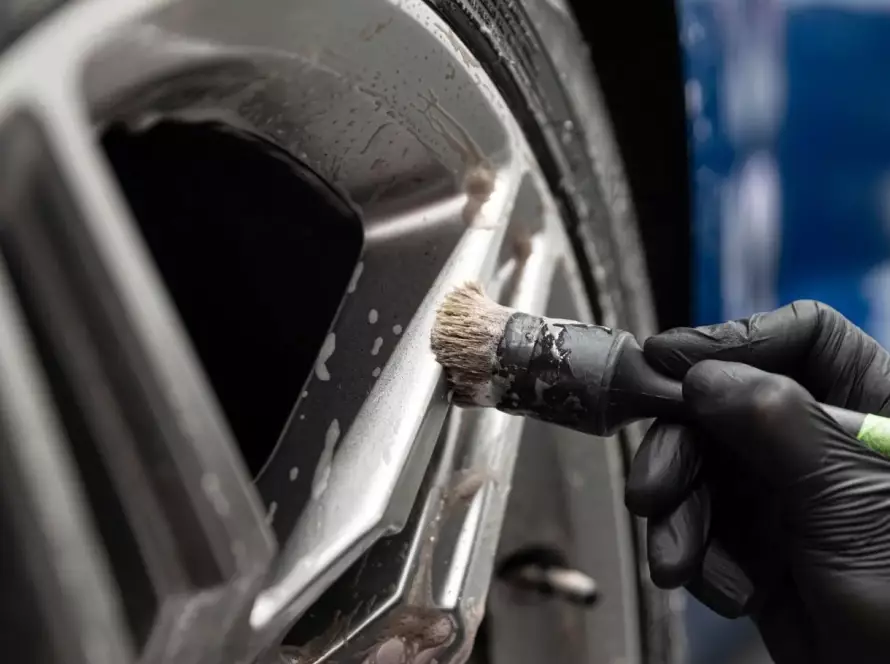
Wheel and tire tools: A wheel bucket, wheel cleaner, wash mitt, and brushes for the wheels, tires, and wheel wells. The wheels and tires are the dirtiest part of the car, so they get their own set of tools and products.
Car shampoo: Use a pH-neutral car soap. pH-neutral soap cleans the car without stripping the protection off the paint, so any wax, sealant, or ceramic coating won’t be stripped off. Stronger, high-pH soaps are built to strip any protection off. They’re best used when you’re about to polish or apply a new layer of protection.
Microfiber drying towels: For drying the paint after the wash without leaving streaks or scratches.
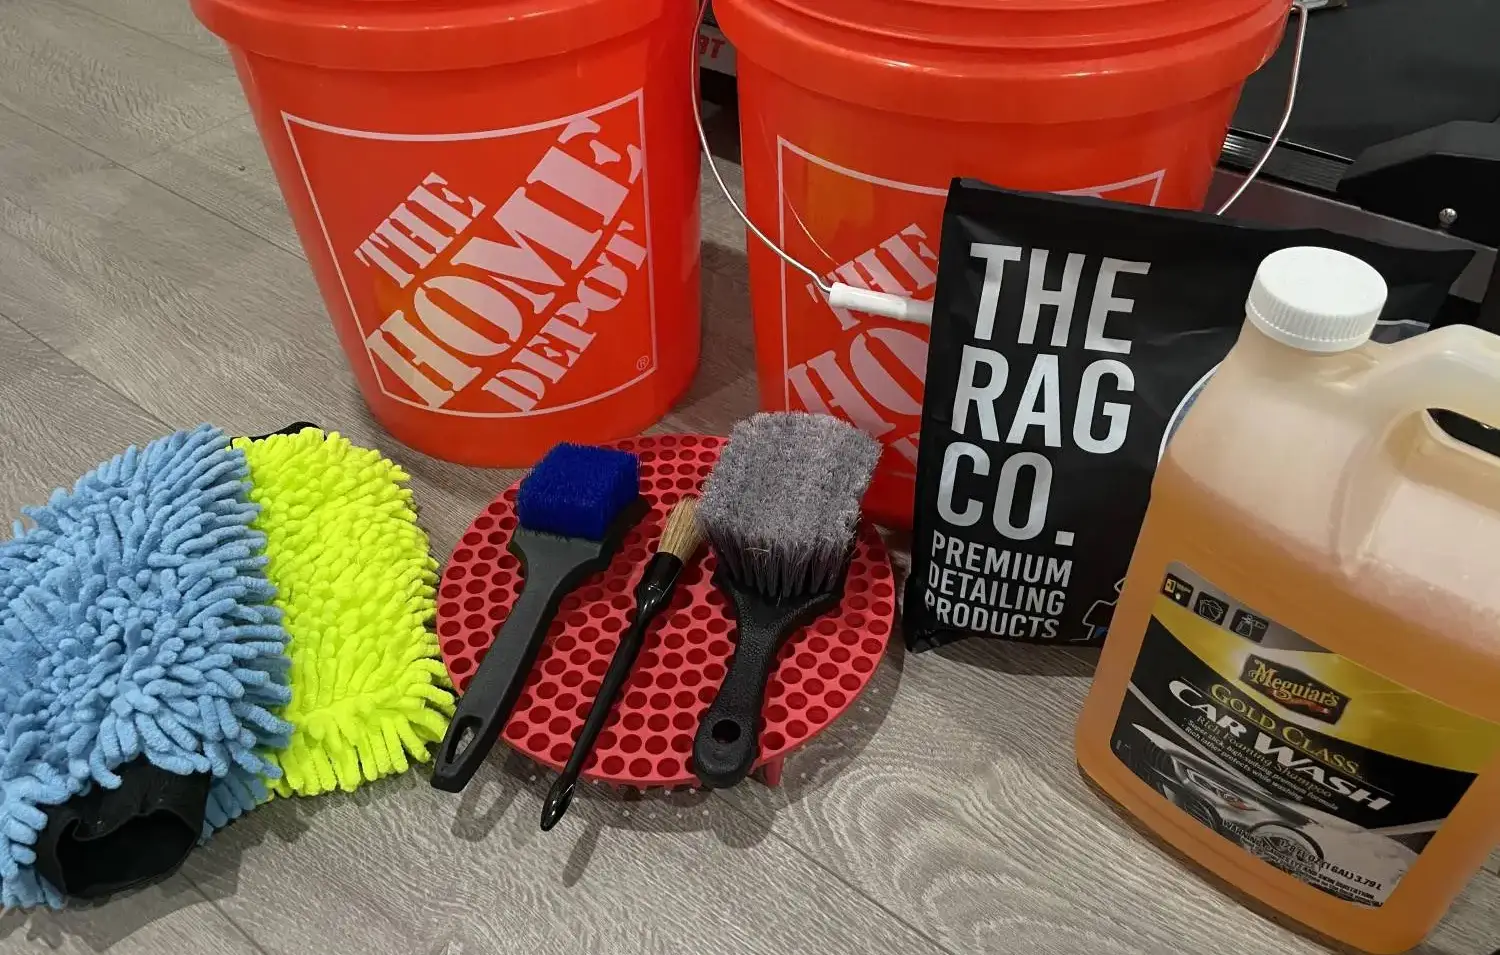
Optional Items
Foam cannon: Sprays foam onto the paint to loosen and encapsulate dirt.
Leaf blower or compressed air: Blows water out of mirrors, badges, and grilles so it doesn’t drip back onto dry paint.
Spray wax: A layer of shine and protection at the end.
Tire shine: A dressing that gives the tires a clean, finished look once you’re done.
How to Do a Two Bucket Wash, Step by Step
Here’s how to clean your car using two buckets, start to finish.
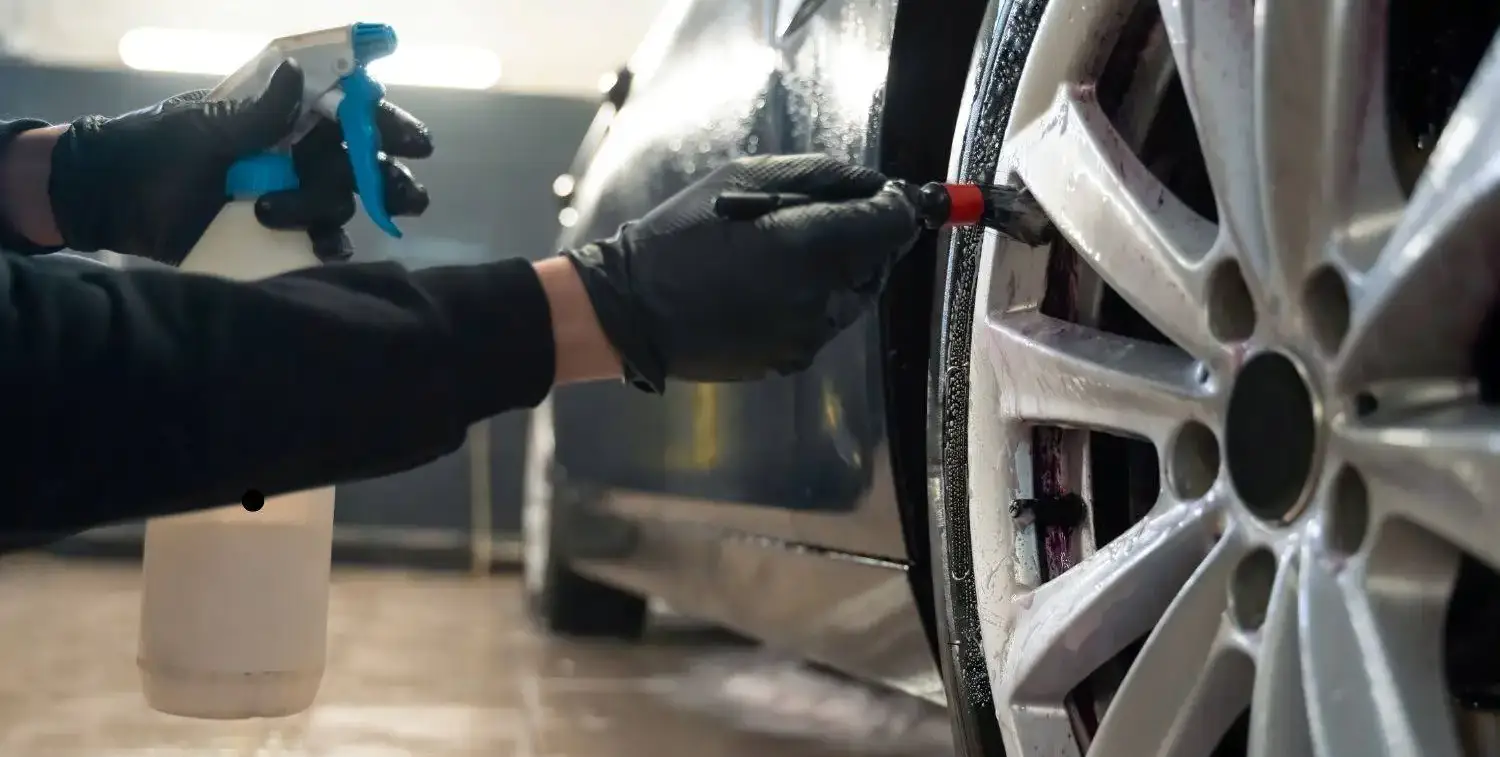
- Wash the wheels and tires first:
Rinse the wheel to clear the loose brake dust and dirt, then spray on your wheel cleaner and let it sit for a minute. Scrub the wheel, tire, tight spots, and wheel wells with your brushes, then rinse.
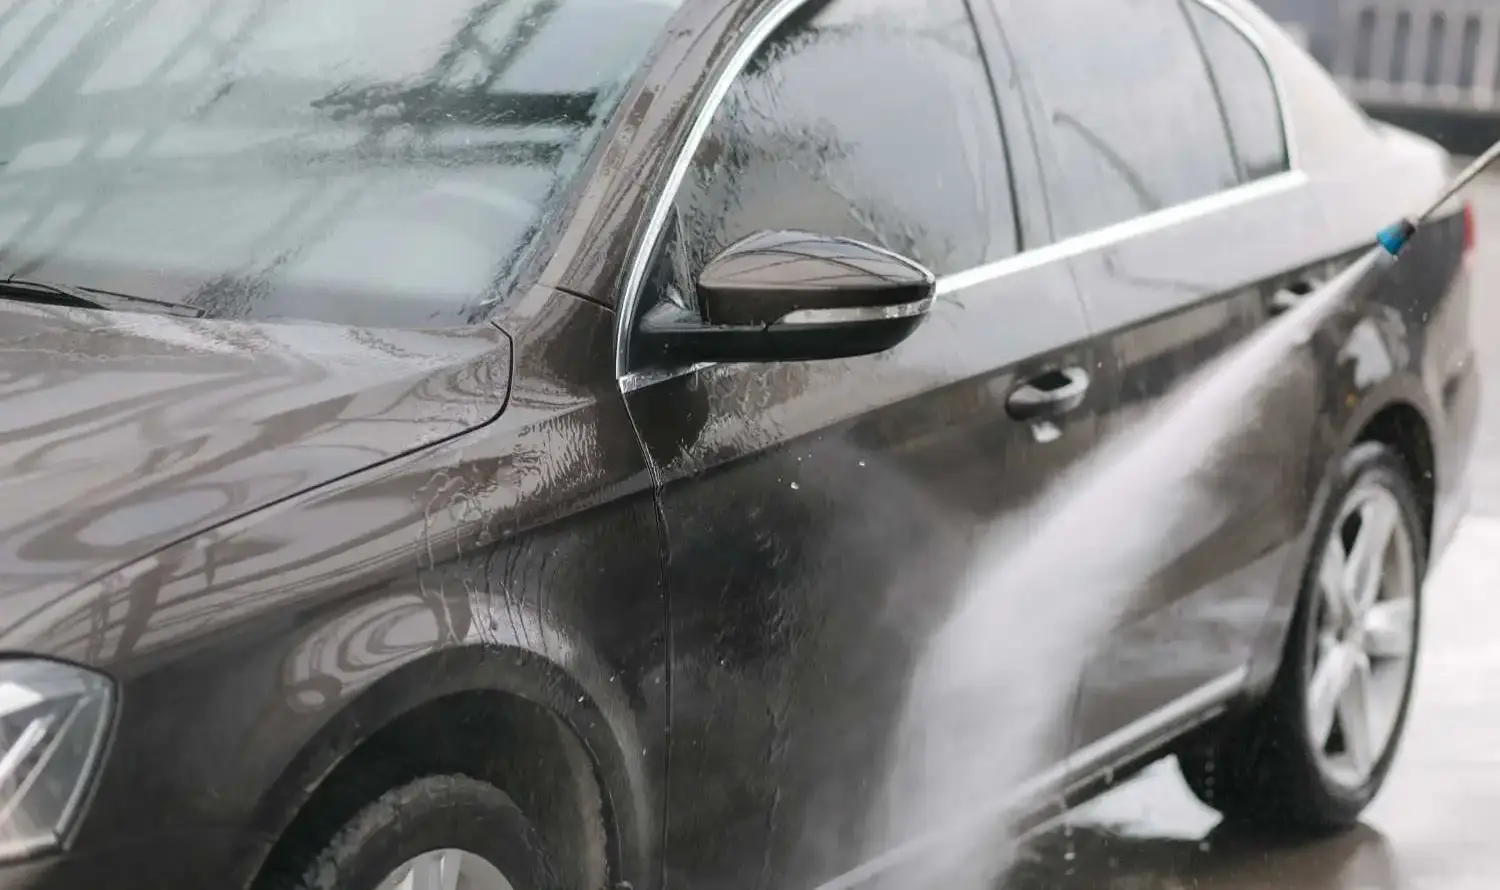
- Pre-rinse the whole car:
Before the wash mitt touches the paint, get as much loose dirt off as you can. The less dirt sitting on the paint, the easier it is to clean. Rinse the whole car top to bottom with a pressure washer or a hose, focusing on the lower panels where dirt builds up most. No hose or pressure washer? You can still do this by filling a bucket or a pump sprayer and rinsing the loose dirt off that way first. It’s slower, but it works. - Foam it down:
Using a foam cannon, cover the car in foam with your car wash solution. The foam clings onto the paint and the cleaners break down the stuck-on grime the rinse alone couldn’t remove, so more of it washes away when you rinse off the foam. Give it a few minutes to break down the remaining dirt, ensure not to let it dry on the paint, then rinse it off. The less dirt on the paint, the lower the chances of it being scratched. If you don’t have a foam cannon, you can skip to the next step. - Fill your two buckets:
One bucket with soapy water and one bucket with clean water, make sure there’s a grit guard in each. - Wash one panel at a time, top to bottom:
Dip your wash mitt in the wash bucket and wash one section at a time, starting from the roof and working your way down. Wash in straight lines, left to right or back and forth, not in circles. Washing in a circular motion is what leaves swirl marks, so it’s best to avoid it. - Rinse your wash mitt before you reload it:
After each panel, wring the mitt out, rinse it in the rinse bucket to dislodge the dirt, and rub it against the grit guard to knock it out of the fibres. Just dipping the wash mitt isn’t enough to get all the dirt off, work it against the guard to make sure the debris is removed, then dip it back into the wash bucket and on to the next panel. - Do a final rinse:
Once the entire car is washed, rinse the car top to bottom until there’s no soap left.
- Dry it right away: Don’t let the paint air dry or you’ll get water spots. Use a clean microfiber drying towel and blot or pull it across the panel, don’t drag it around in circles. Drying is one of the easiest ways to put scratches right back into the paint you just cleaned, so take your time. Use a leaf blower to push water out of mirrors, badges, and grilles so it doesn’t run back onto the paint as you dry.
- Dress the tires: Spray a tire shine onto the tires for a clean, finished look that matches the paint.
- Finish with a spray wax: Once the car’s dry, mist a spray wax over one panel at a time and buff it off with a clean microfiber towel. It gives the paint shine and a layer of protection, and it keeps the car cleaner longer so your next car wash is easier.
Common Mistakes That Scratch the Paint During a Two Bucket Wash
You can do everything else right and still scratch your paint if these aren’t avoided:
- Washing in direct sun or on a hot panel: In direct sunlight the soap and water dry too fast which leaves water spots and streaks. It’s best to work in a shaded area so the exterior doesn’t get too hot.
- Dropping your wash mitt and continuing to use it: Once the mitt hits the ground it picks up a lot of dirt, so it’s best not to keep using it, and it’s better just to grab a clean one.
- Not using enough soap: The soap is what lets the mitt glide. Without enough soap, the mitt won’t glide smoothly, it’ll drag rough across the paint and that can create scratches too.
How to Maintain a Clean, Scratch-Free Exterior
Keeping your car clean is easier when you maintain it properly.
Ensure there is always protection on the exterior: Every couple of weeks/months, apply a coat of spray wax or sealant. It gives the paint a layer against the sun, dirt, and water, and it makes your car washes easier since less sticks to the car.
Park smart: When you can, park in the shade or in a garage. This keeps your vehicle in a more controlled area, keeping the sun off your paint, and cuts down on the dust, dirt, and any other elements settling on it.
Wash on a schedule: Once a week or every couple of weeks is a good car wash routine for most people. If you drive a lot in winter or go off-roading, wash more often, since salt and built-up grime cling to the paint and make it dull over time. If keeping up with a schedule isn’t realistic, that’s what we’re here for at Grandeur Autos.
FAQs
Do I need a grit guard in both buckets?
Ideally yes, one in each. If you only have one, put it in the rinse bucket, since that’s where you clean the dirt off your mitt before dipping back into the soap, so there’ll be no grit left in it when you go back to agitating the paint. One in the soap bucket helps too, but the rinse bucket would need it more.
How often should I change the rinse water?
When it starts looking dirty, pour it out and add clean water. On a really dirty car you might change it once or twice through the wash.
Can I use a sponge instead of a wash mitt?
You can, but a wash mitt is much safer. A sponge sits flat and traps grit against the paint, while a mitt’s fibres pull the dirt up and away from the surface. If you want to keep scratching to a minimum, go with a mitt.
Is the two bucket method safe on a ceramic coated car?
Yes it is. On a ceramic coated vehicle you need to properly wash it to make sure your exterior stays clean and the coating can last, and the two bucket method is perfect for that. Make sure the soap being used is a pH-neutral soap, stay away from harsh, high-pH products which will strip off the coating.
Final Thoughts
That’s the two bucket wash method. Once you’ve done it a few times it stops feeling like a process and just becomes how you wash the car.
If you’d rather leave it to professional detailers who do this daily, that’s what we’re here for. Here at Grandeur Autos we do a scratch-free hand wash and full exterior detailing in Calgary. Contact us and we’ll take care of your vehicle.